Deploying an OpenAI Compatible Endpoint on Runpod with vLLM and K6 Load Testing
Table of Contents
This post explores renting a cloud GPU from RunPod and using the vLLM inference engine to run a Large Language Model made available via an OpenAI compatible endpoint, and then load testing that endpoint with K6.
What is RunPod?#
RunPod is a paid cloud GPU provider. It offers:
Pods
We will utilise a pod in this example.
A pod is a container with one or more GPUs attached. We specify the docker image and the configuration. The pod will run until we terminate it.
Pods provide easy TCP and HTTPS port forwarding to RunPod’s generated hostnames via its proxy.
Serverless
Serverless abstracts away the management of containers. An endpoint is called via a python package which under the hood instantiates one or more containers to run a workload which then terminate on completion, or after a specified idle time has elapsed.
They are suited towards training and other long-running tasks. The time to instantiate is heavily dependent on how much data needs to be loaded to commence.
Network volumes are available to give the serverless endpoints state. The availability of new GPUs is reduced when using network volumes as it ties the service to a chosen data centre.
Inference Endpoints
Inference endpoints include OpenAI compatible endpoints for various models, and image and voice based endpoints. These are priced in tokens per dollar and are typically more cost-effective than pods or serverless if endpoints are all that is required.
They suit uses cases where control over the infrastructure, host configuration and the model are not needed. Also cases where usage is spread over time.
At time of writing, Together.ai has a pretty good offering in the open-source inference endpoint space with a larger selection of models available. There are several other providers which I have not evaluated.
For clarity, I am not affiliated with RunPod or Together.ai and there is no monetary reward for this post.
What is vLLM?#
vLLM is an open-source inference and serving library for Large Language Models developed at UC Berkeley.
It is designed to achieve high throughput across concurrent requests.
What is K6?#
K6 is an open-source load testing tool written in Go and interprets tests written in ES6-style Javascript. It hails from the same company that produces Grafana.
It allows us to make concurrent requests to our endpoint and measure performance.
Why OpenAI compatible?#
This allows us to drop in our endpoint URL and API key into any software which has configurable OpenAI endpoint support. This opens us up to a wide range of pre-existing packages and programs.
Examples of software include Continue.dev for IntelliJ and VSCode integration, and Shell-GPT for Bash integration. We can also write our own software which can be swapped between the other providers by updating one line or two lines of configuration.
Bring Your Own#
- RunPod Account
- RunPod Credit
- Web Browser
- Ubuntu
Techstack#
- Ubuntu Linux 22.04
- vLLM v0.3.2
- K6 0.49.0
- Large Language Model codefuse-ai/CodeFuse-Deepseek-33B
Steps#
Set Up RunPod Template#
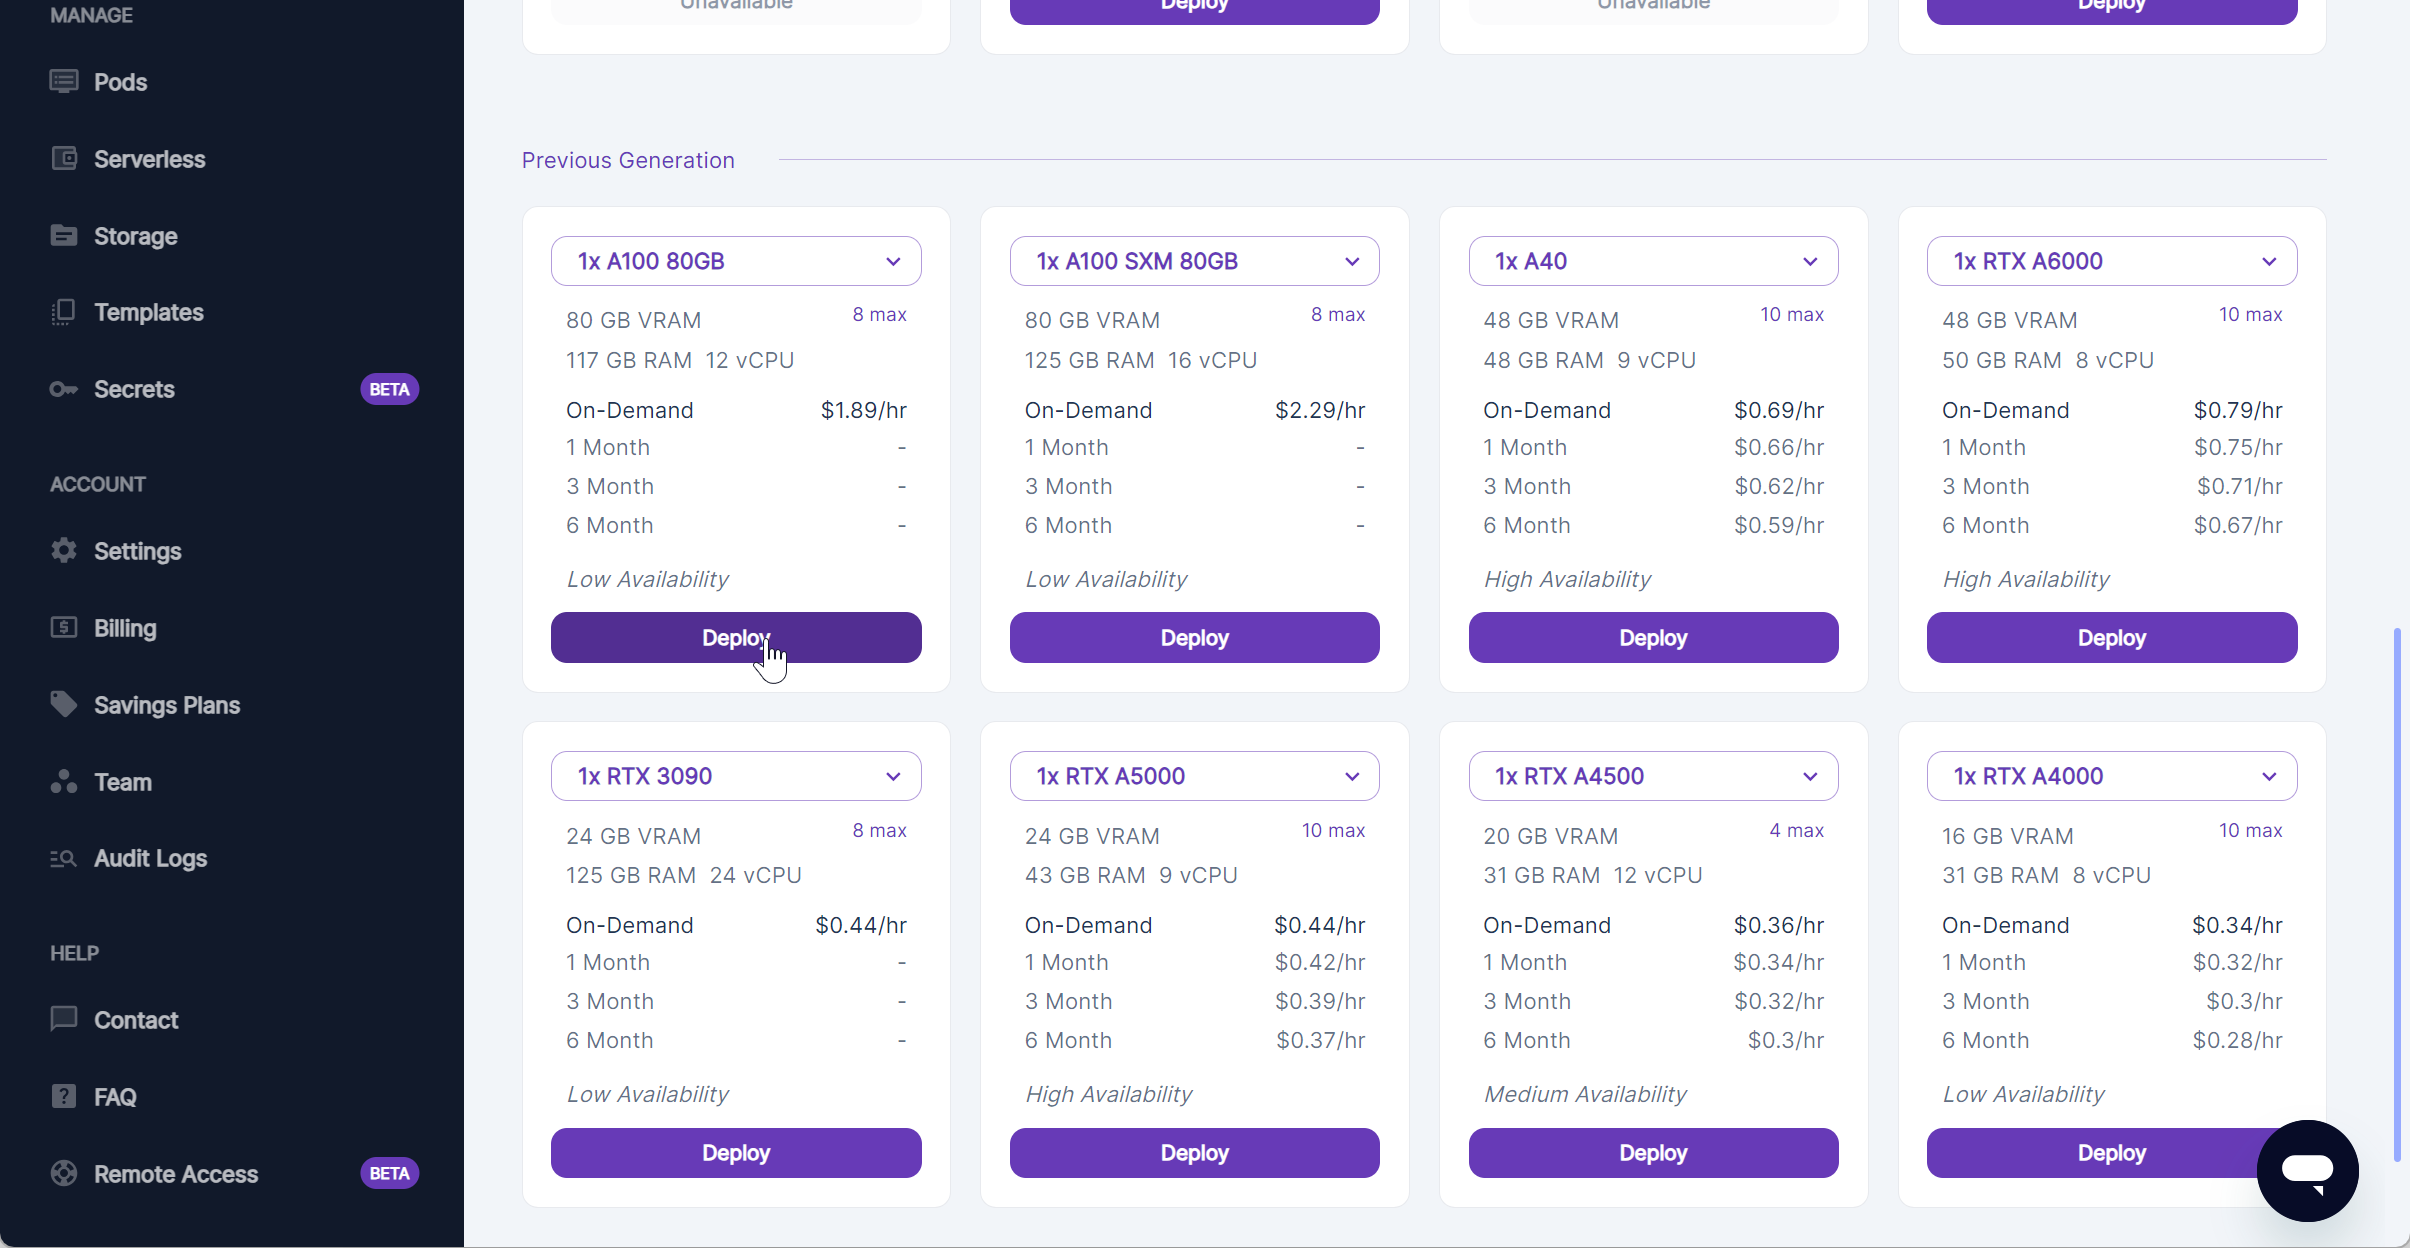
The example case will use a A100 80GB PCIe GPU running a 33 billion parameter model.
Login to Runpod. Click Templates. Click + New Template.
Configure the template:
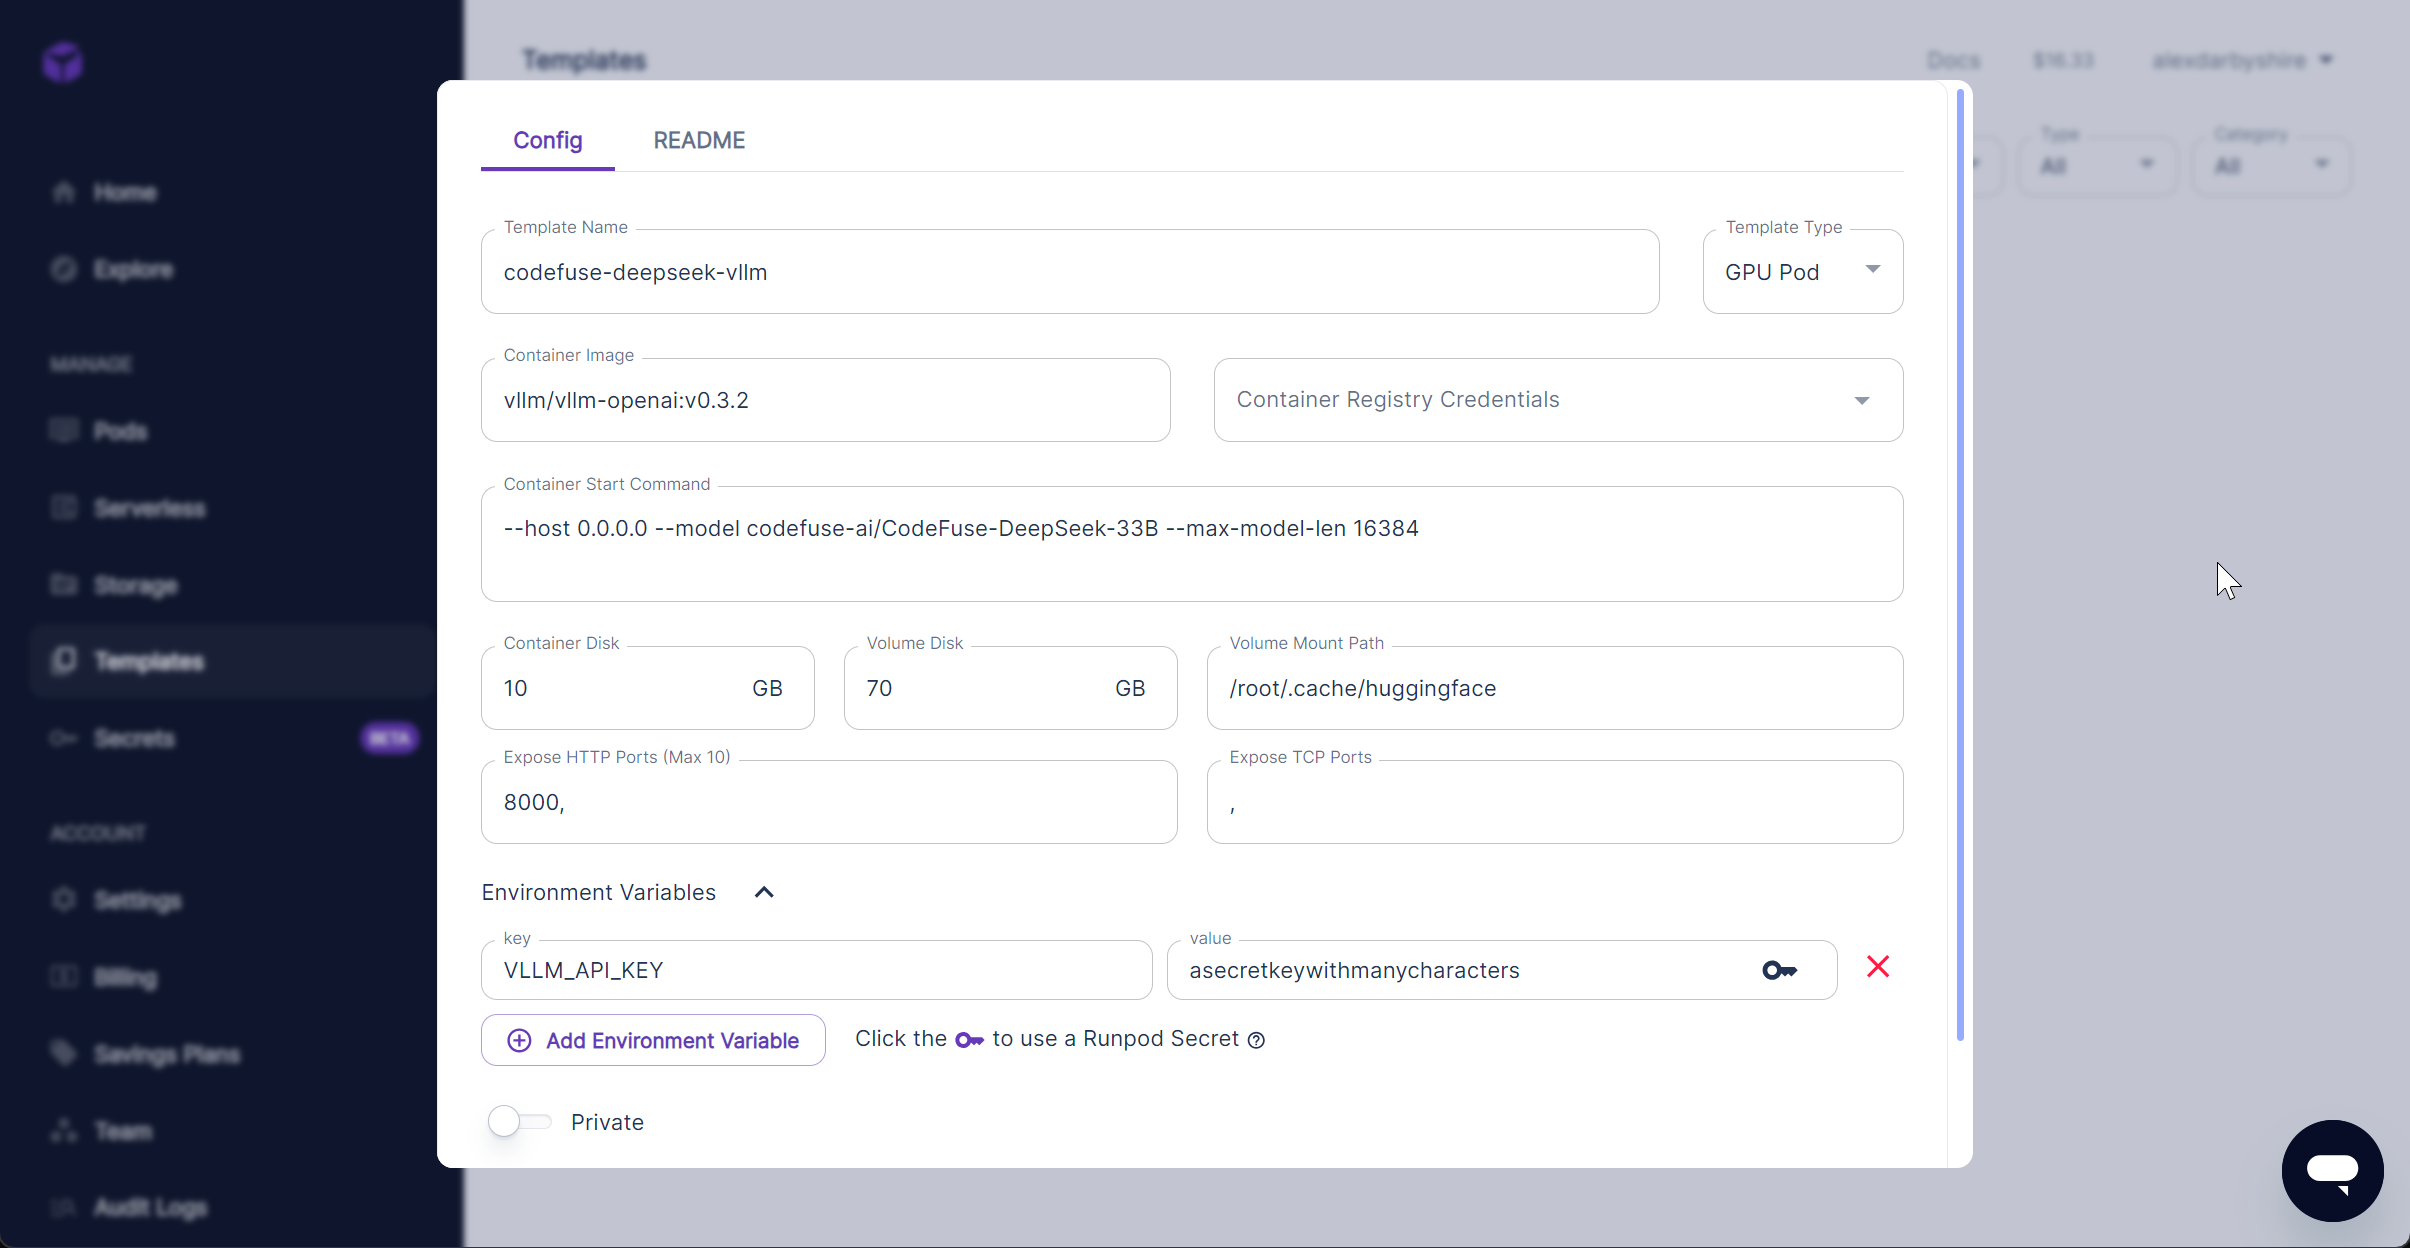 Container image
 vllm/vllm-openai:v0.3.2 - at time of writing latest (v0.3.3) wasn’t showing the model download progress.
Container Disk 10GB is more than enough, 1GB likely sufficient.
Volume Disk 70GB for the downloaded model, it may be adjusted based on the model being used.
Expose HTTP Ports 8000, the port we will access our endpoint on.
Container Start Command --host 0.0.0.0 --model codefuse-ai/CodeFuse-DeepSeek-33B --max-model-len 16384
--host 0.0.0.0allows requests from all IPs--model codefuse-ai/CodeFuse-DeepSeek-33Bspecifies to model to download from Hugging Facemax-model-len 16384specifies the maximum context of the model, this can be found inconfig.jsonasmax-position-embeddingsin the model repo on Hugging Face
Volume Mount Path /root/.cache/huggingface this is where our 70GB will be made available and where the downloaded model will be stored in the container.
Environment Variables
VLLM_API_KEYAPI Key required to access the endpoint.
Add SSH Key to Global RunPod Settings (optional)#
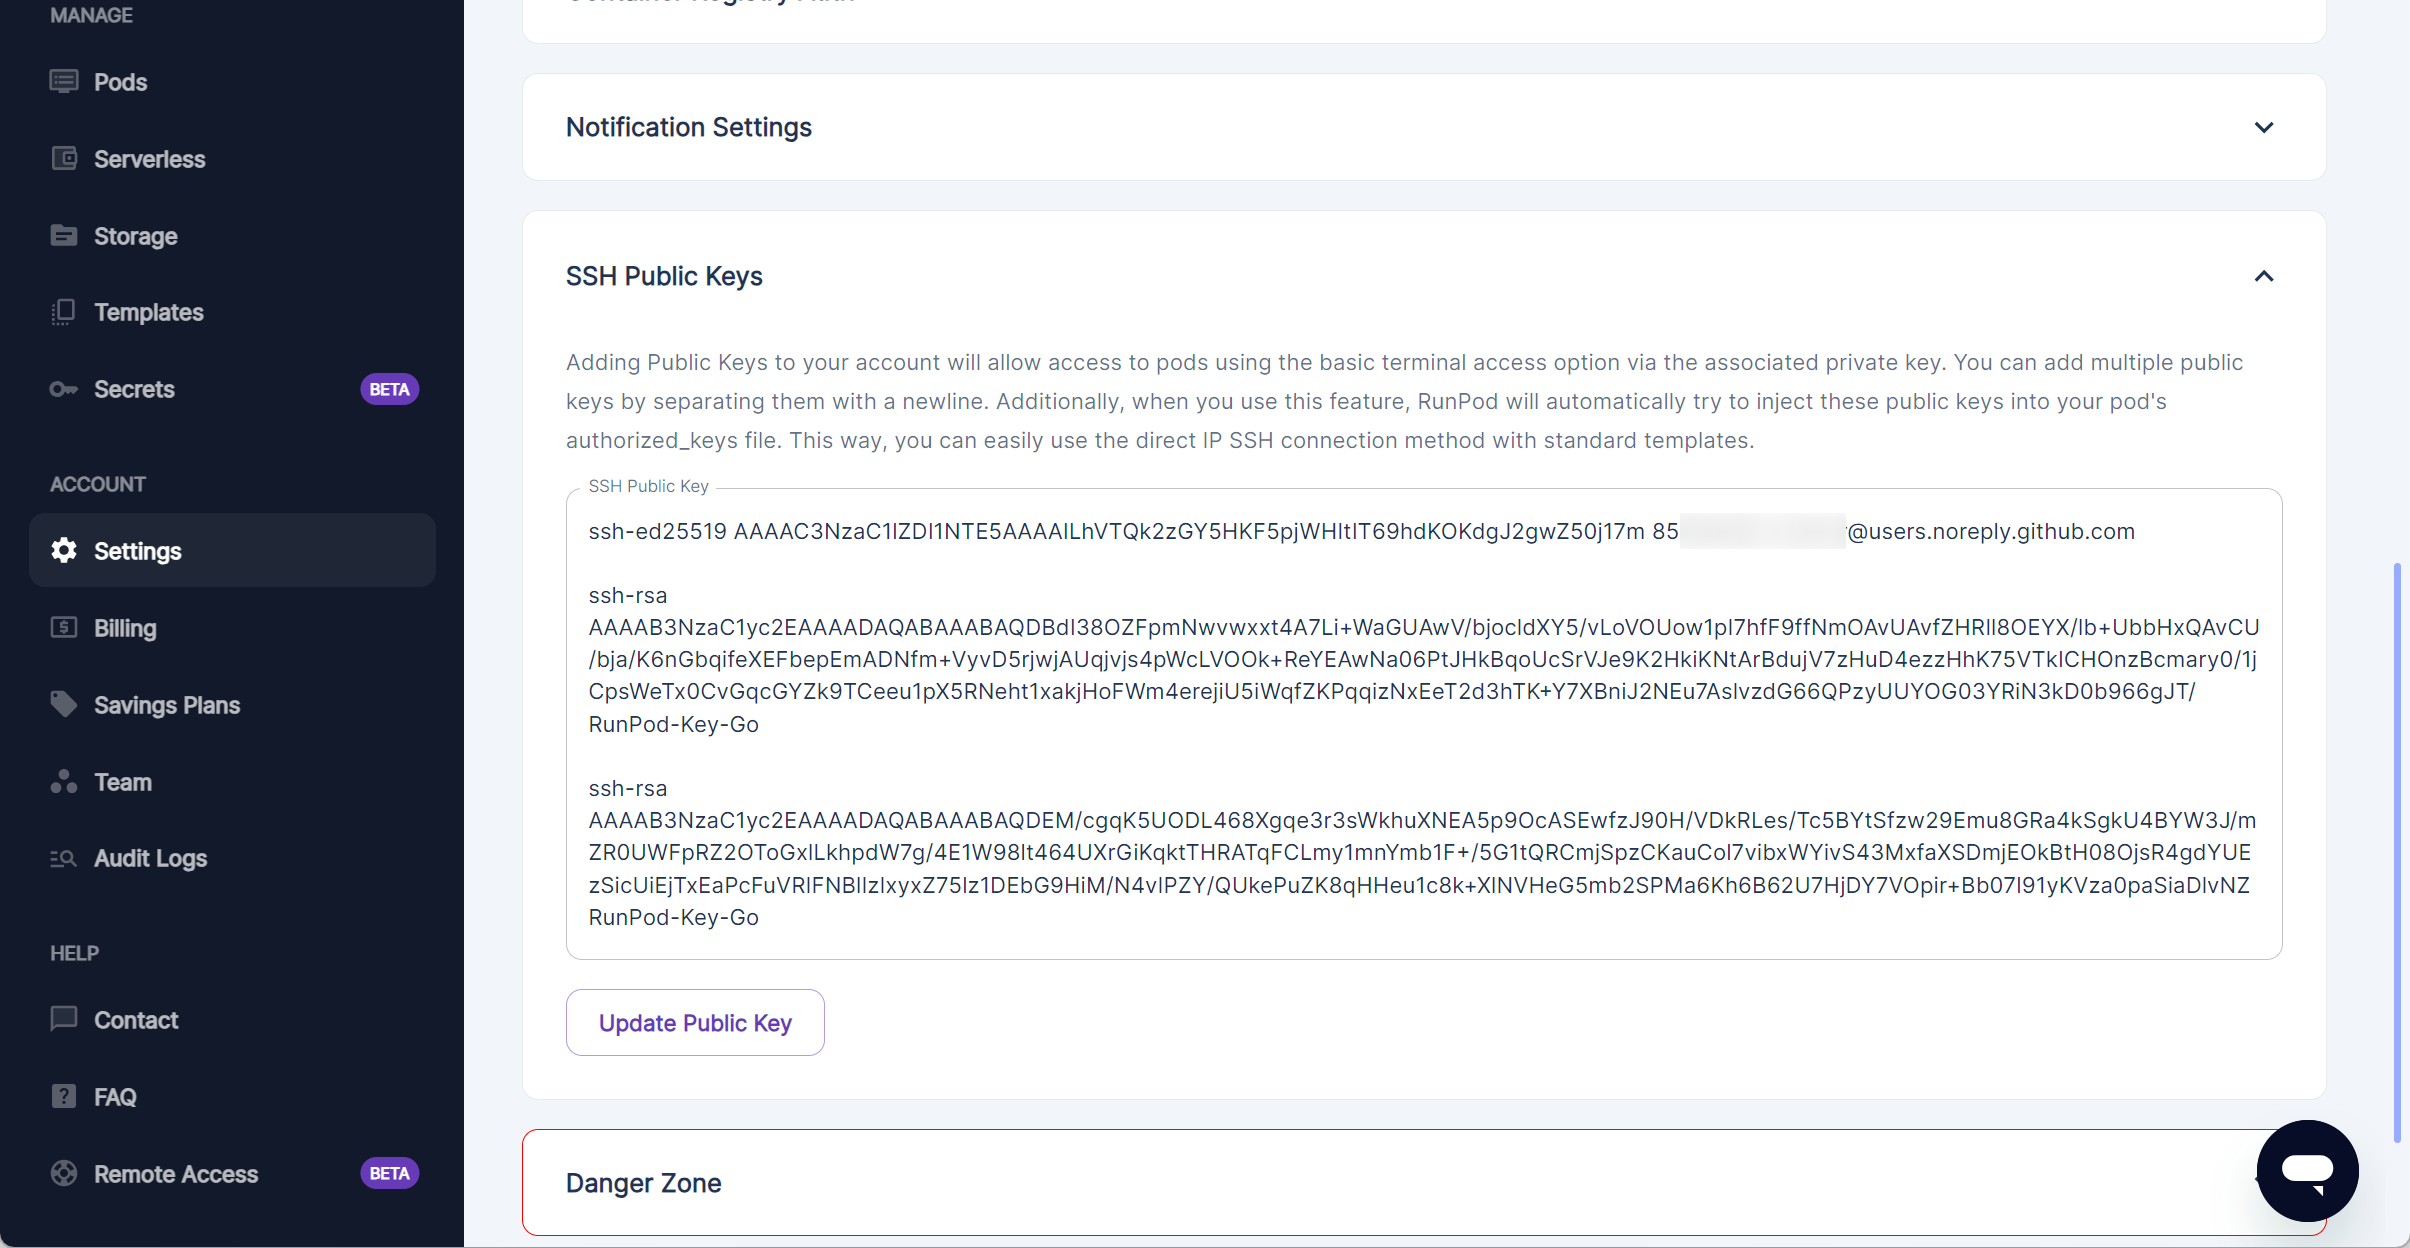
Should we want to SSH into the container from a terminal, before instantiating our pod we add a public SSH key to Account Settings SSH Public Keys.
Instantiate a Pod#
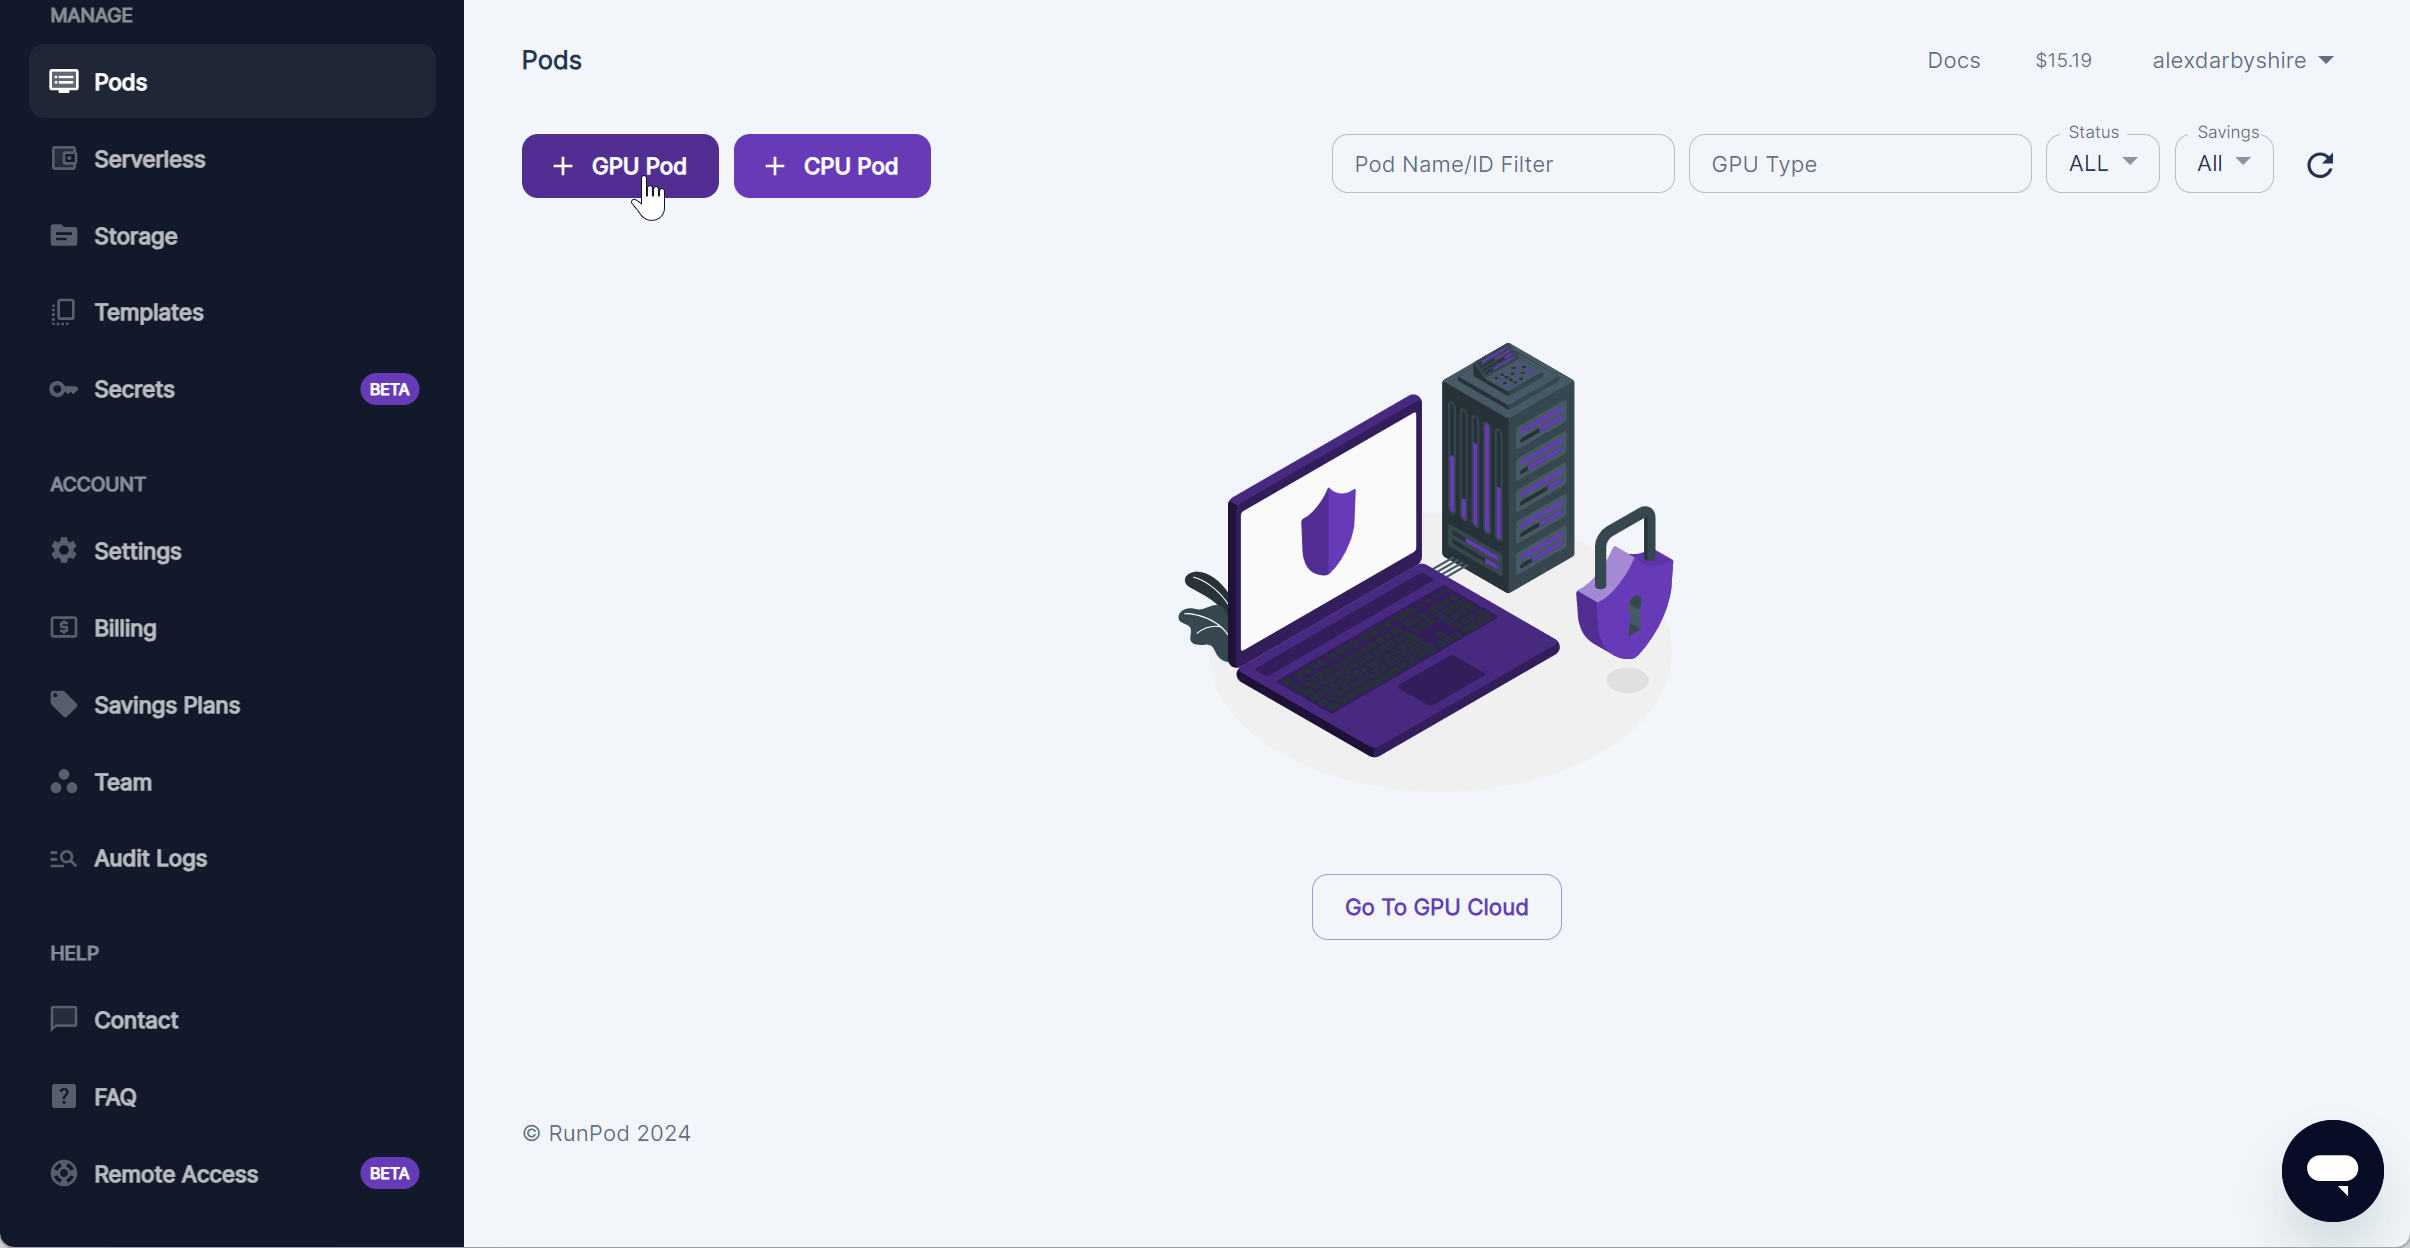
Click into Pods.
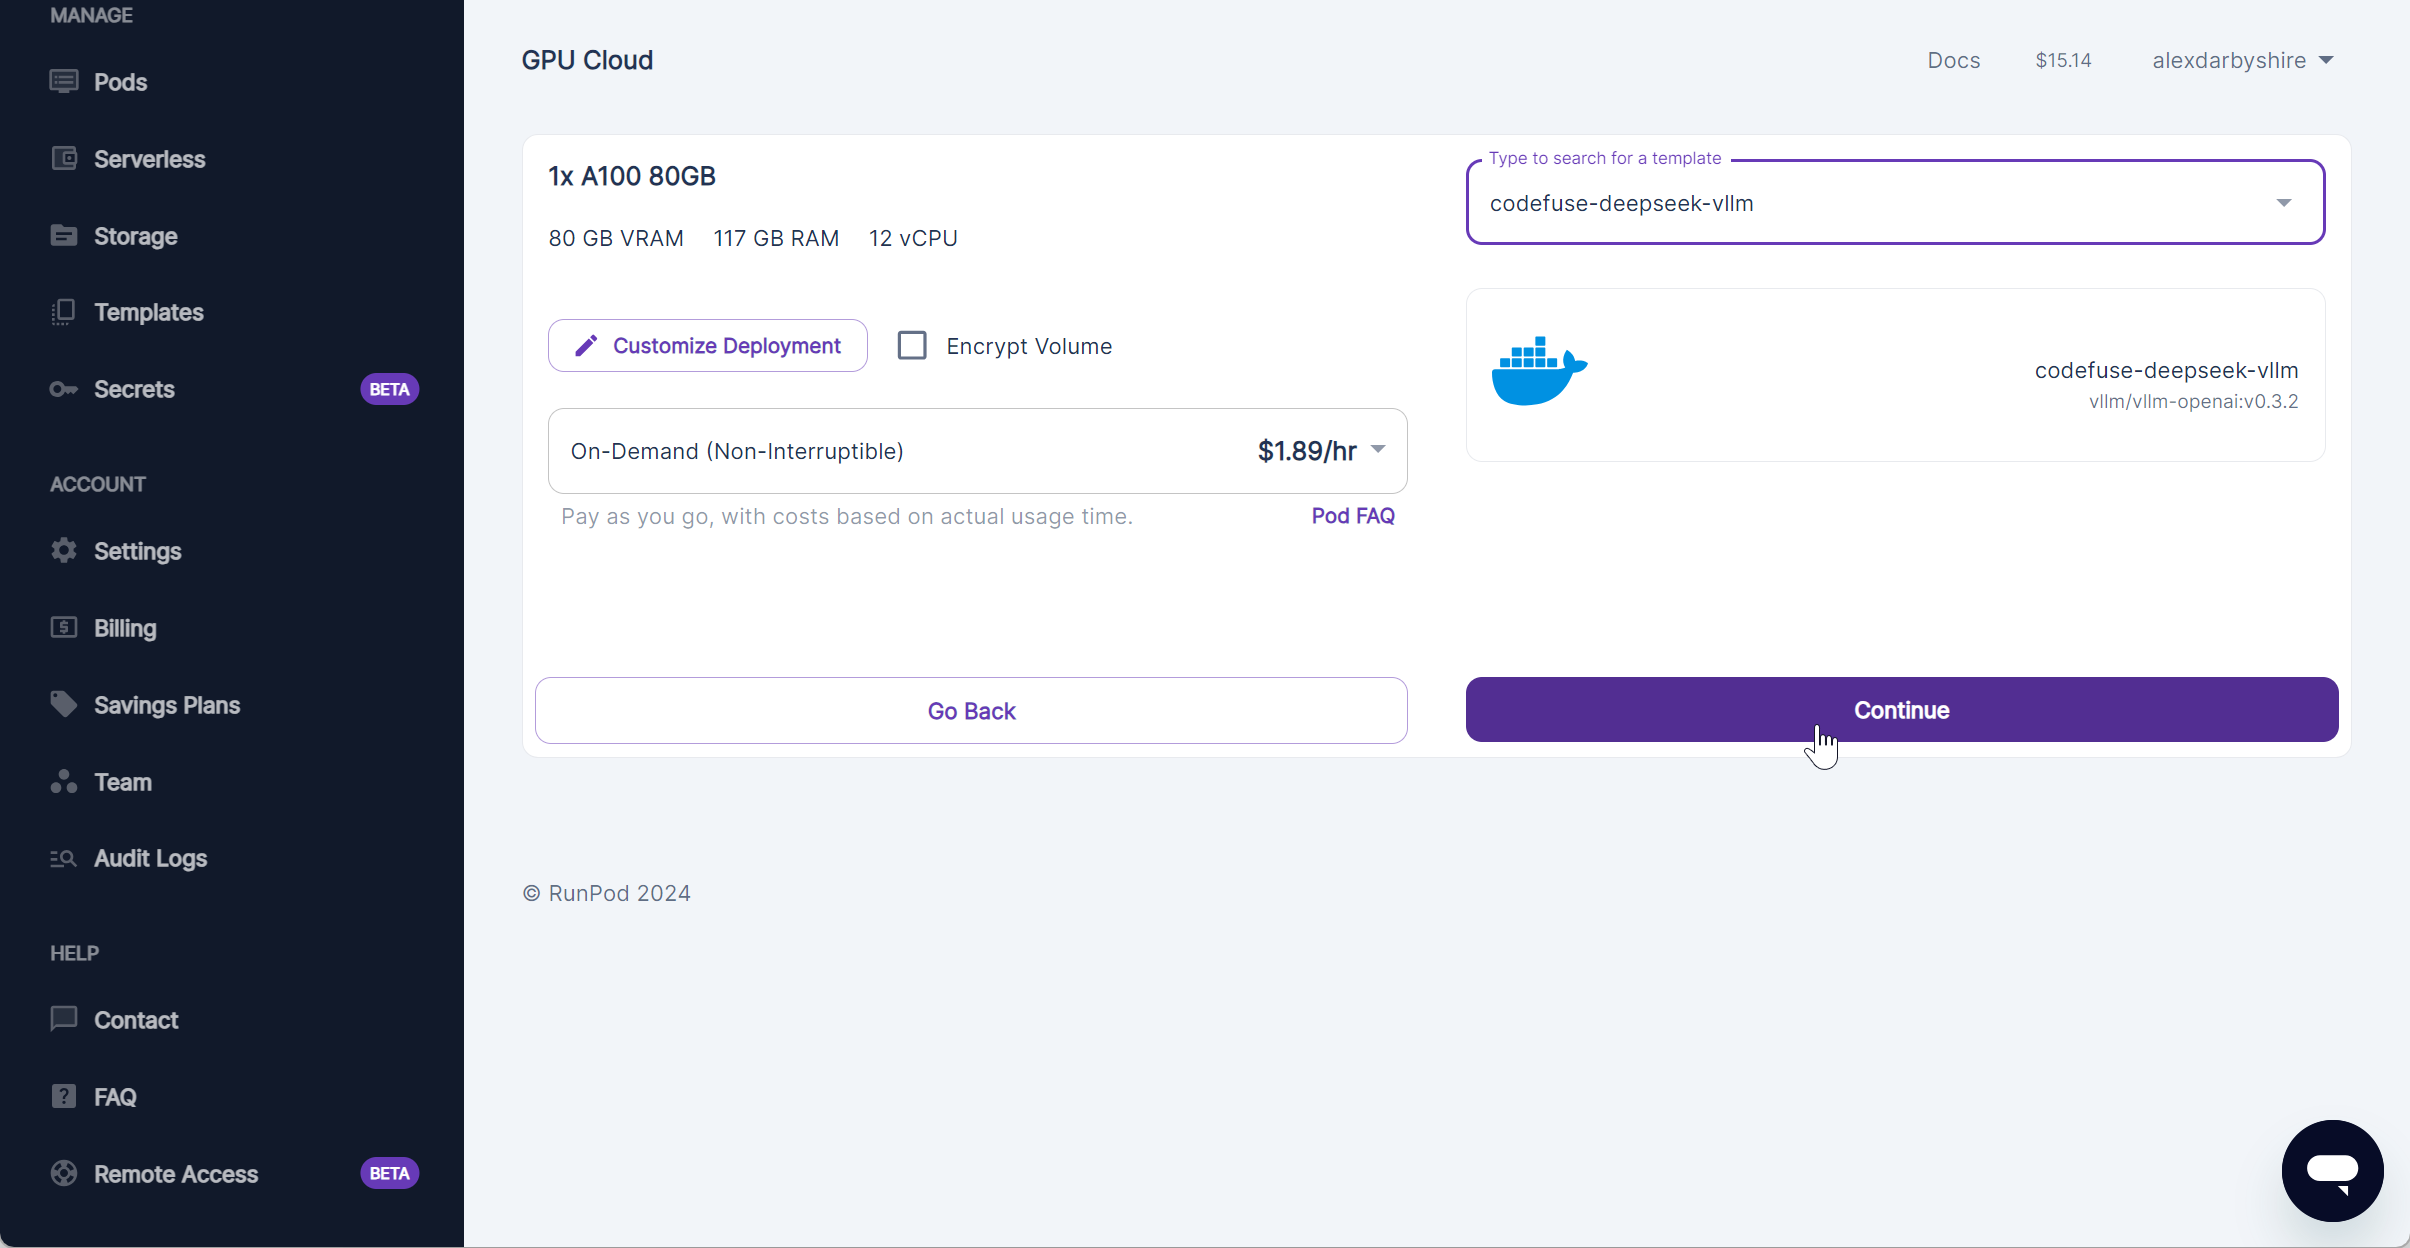
Select the desired GPU and click Deploy.
Select the Template we created and click Continue.
Success.
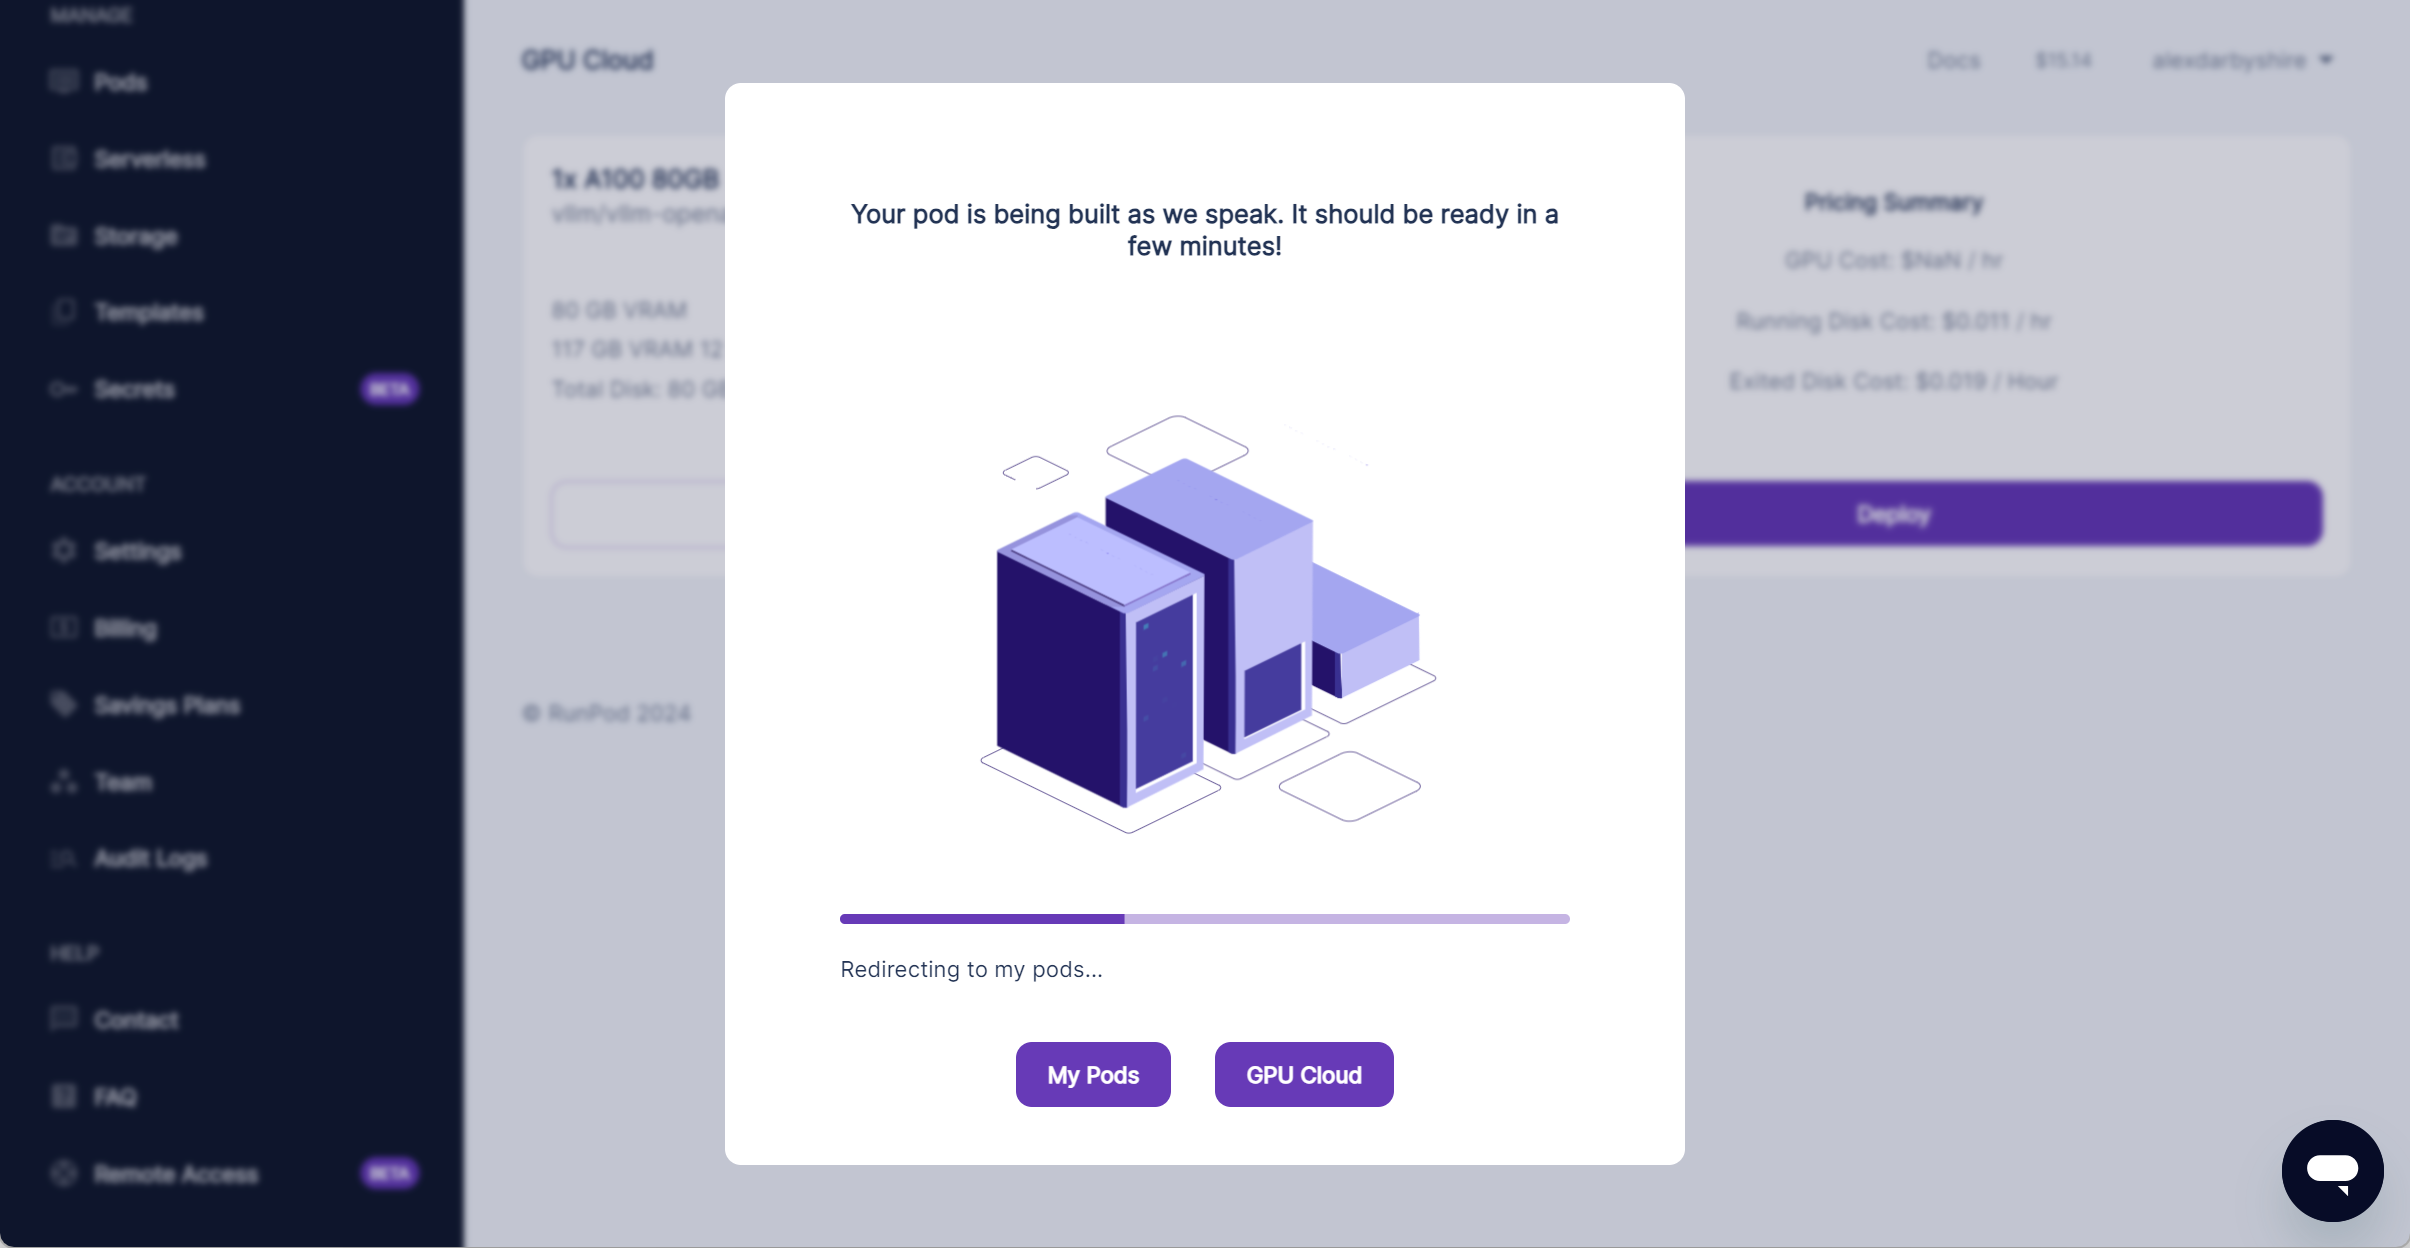
Wait for Pod Creation#
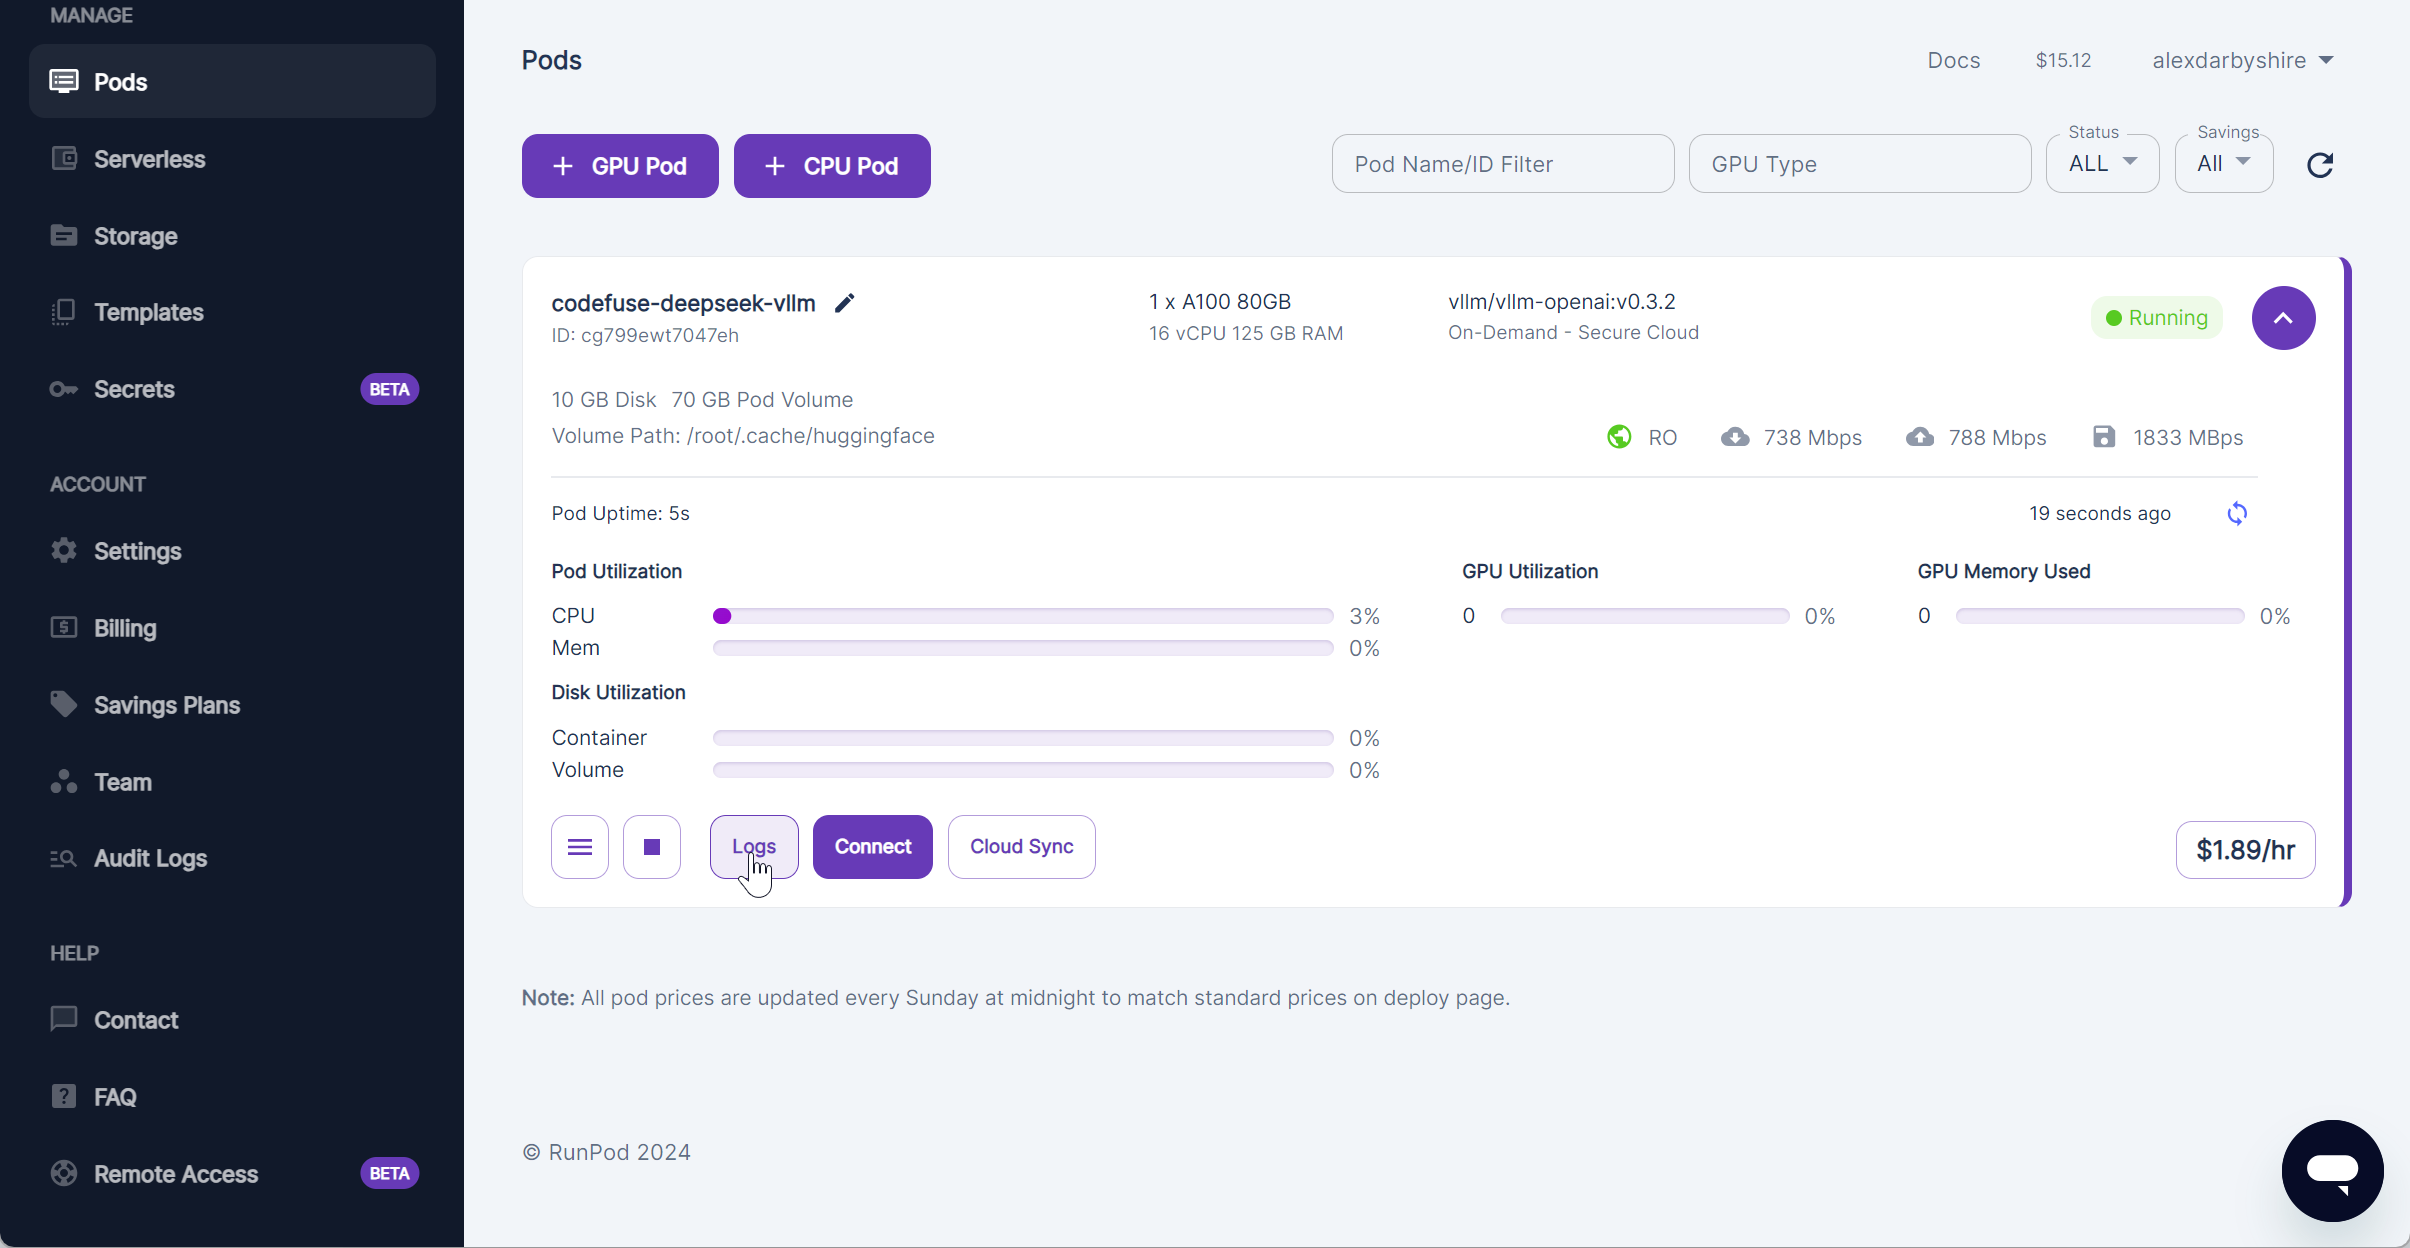
After the Pod gets built within RunPod’s ecosystem, we can select it and click Logs.
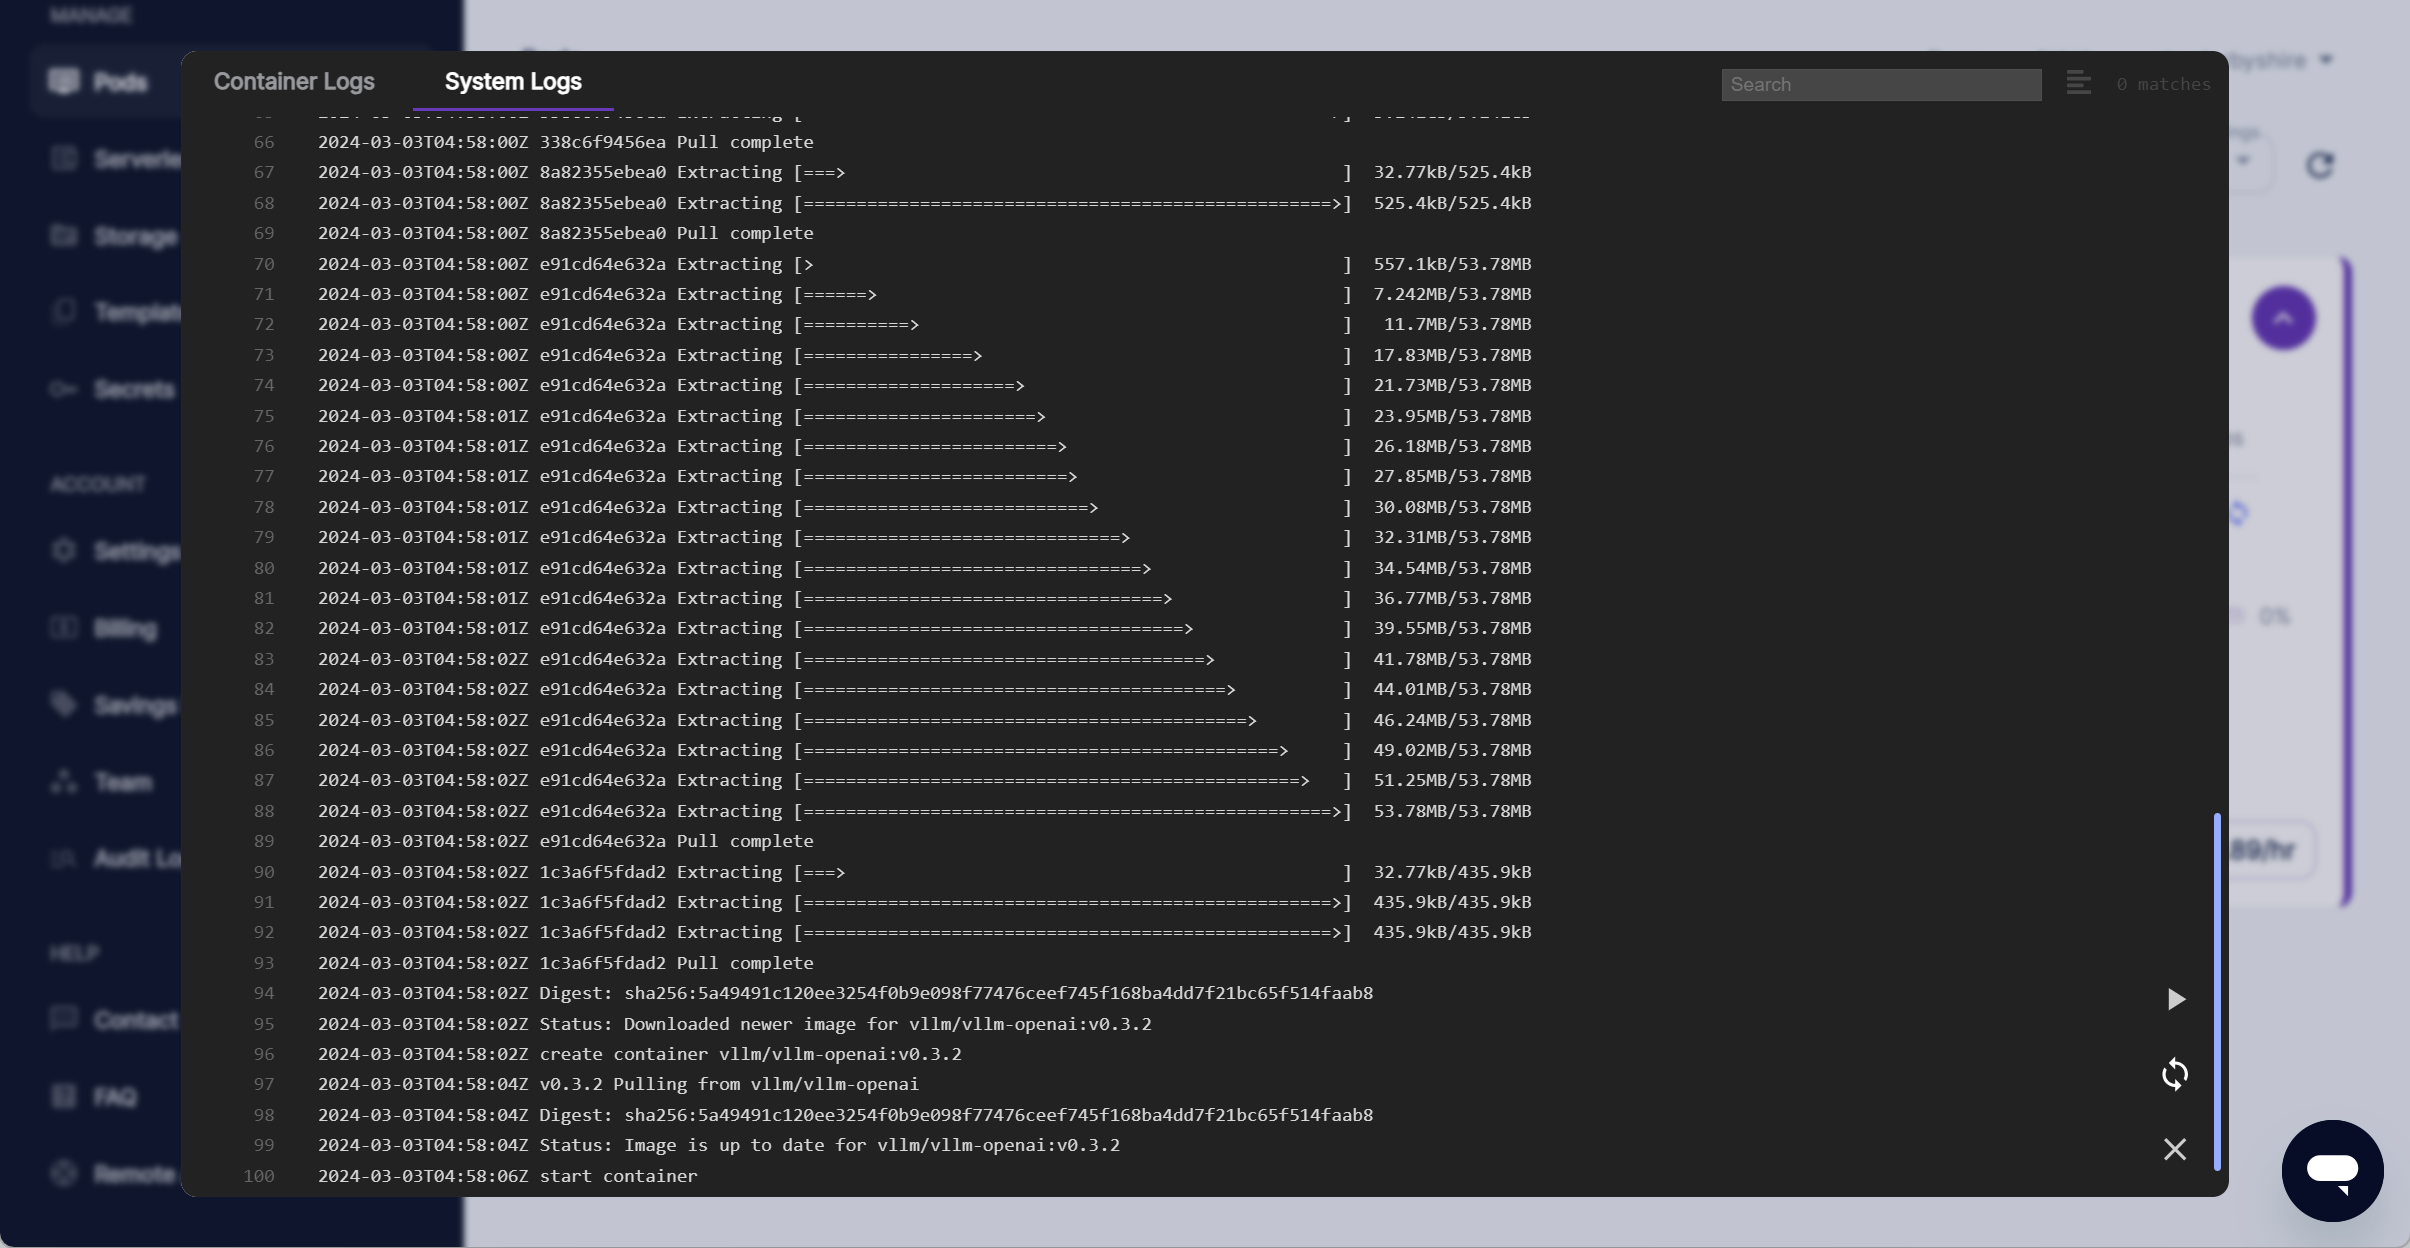
Under System Logs we see the vLLM docker image being pulled and then the container is created.
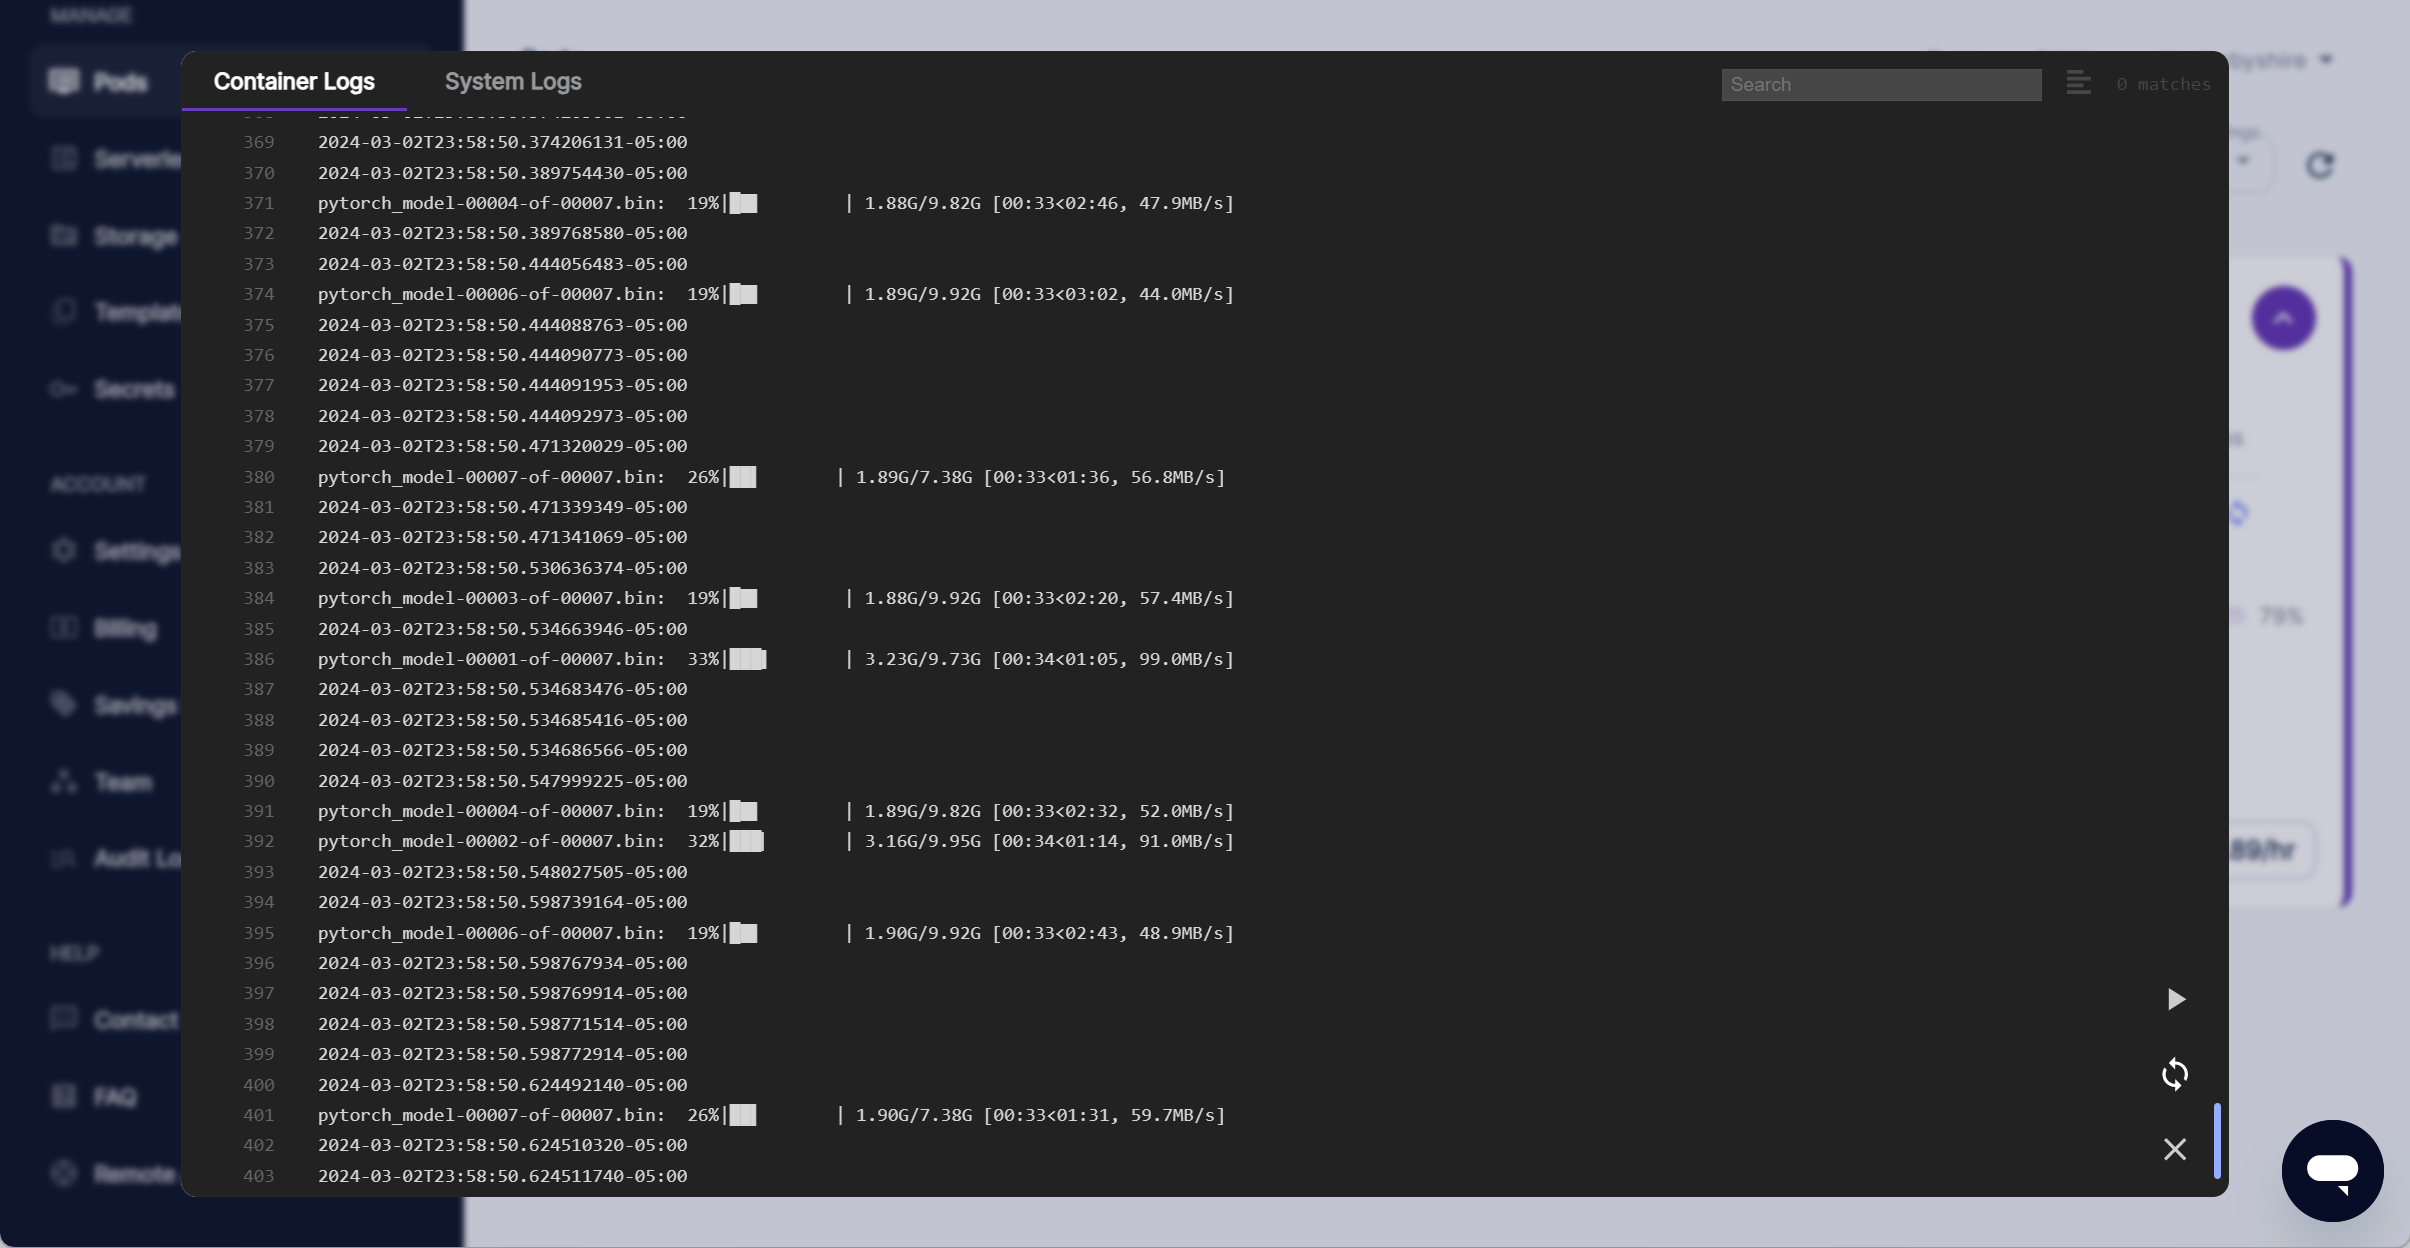
Under Container Logs we will see the model being downloaded.
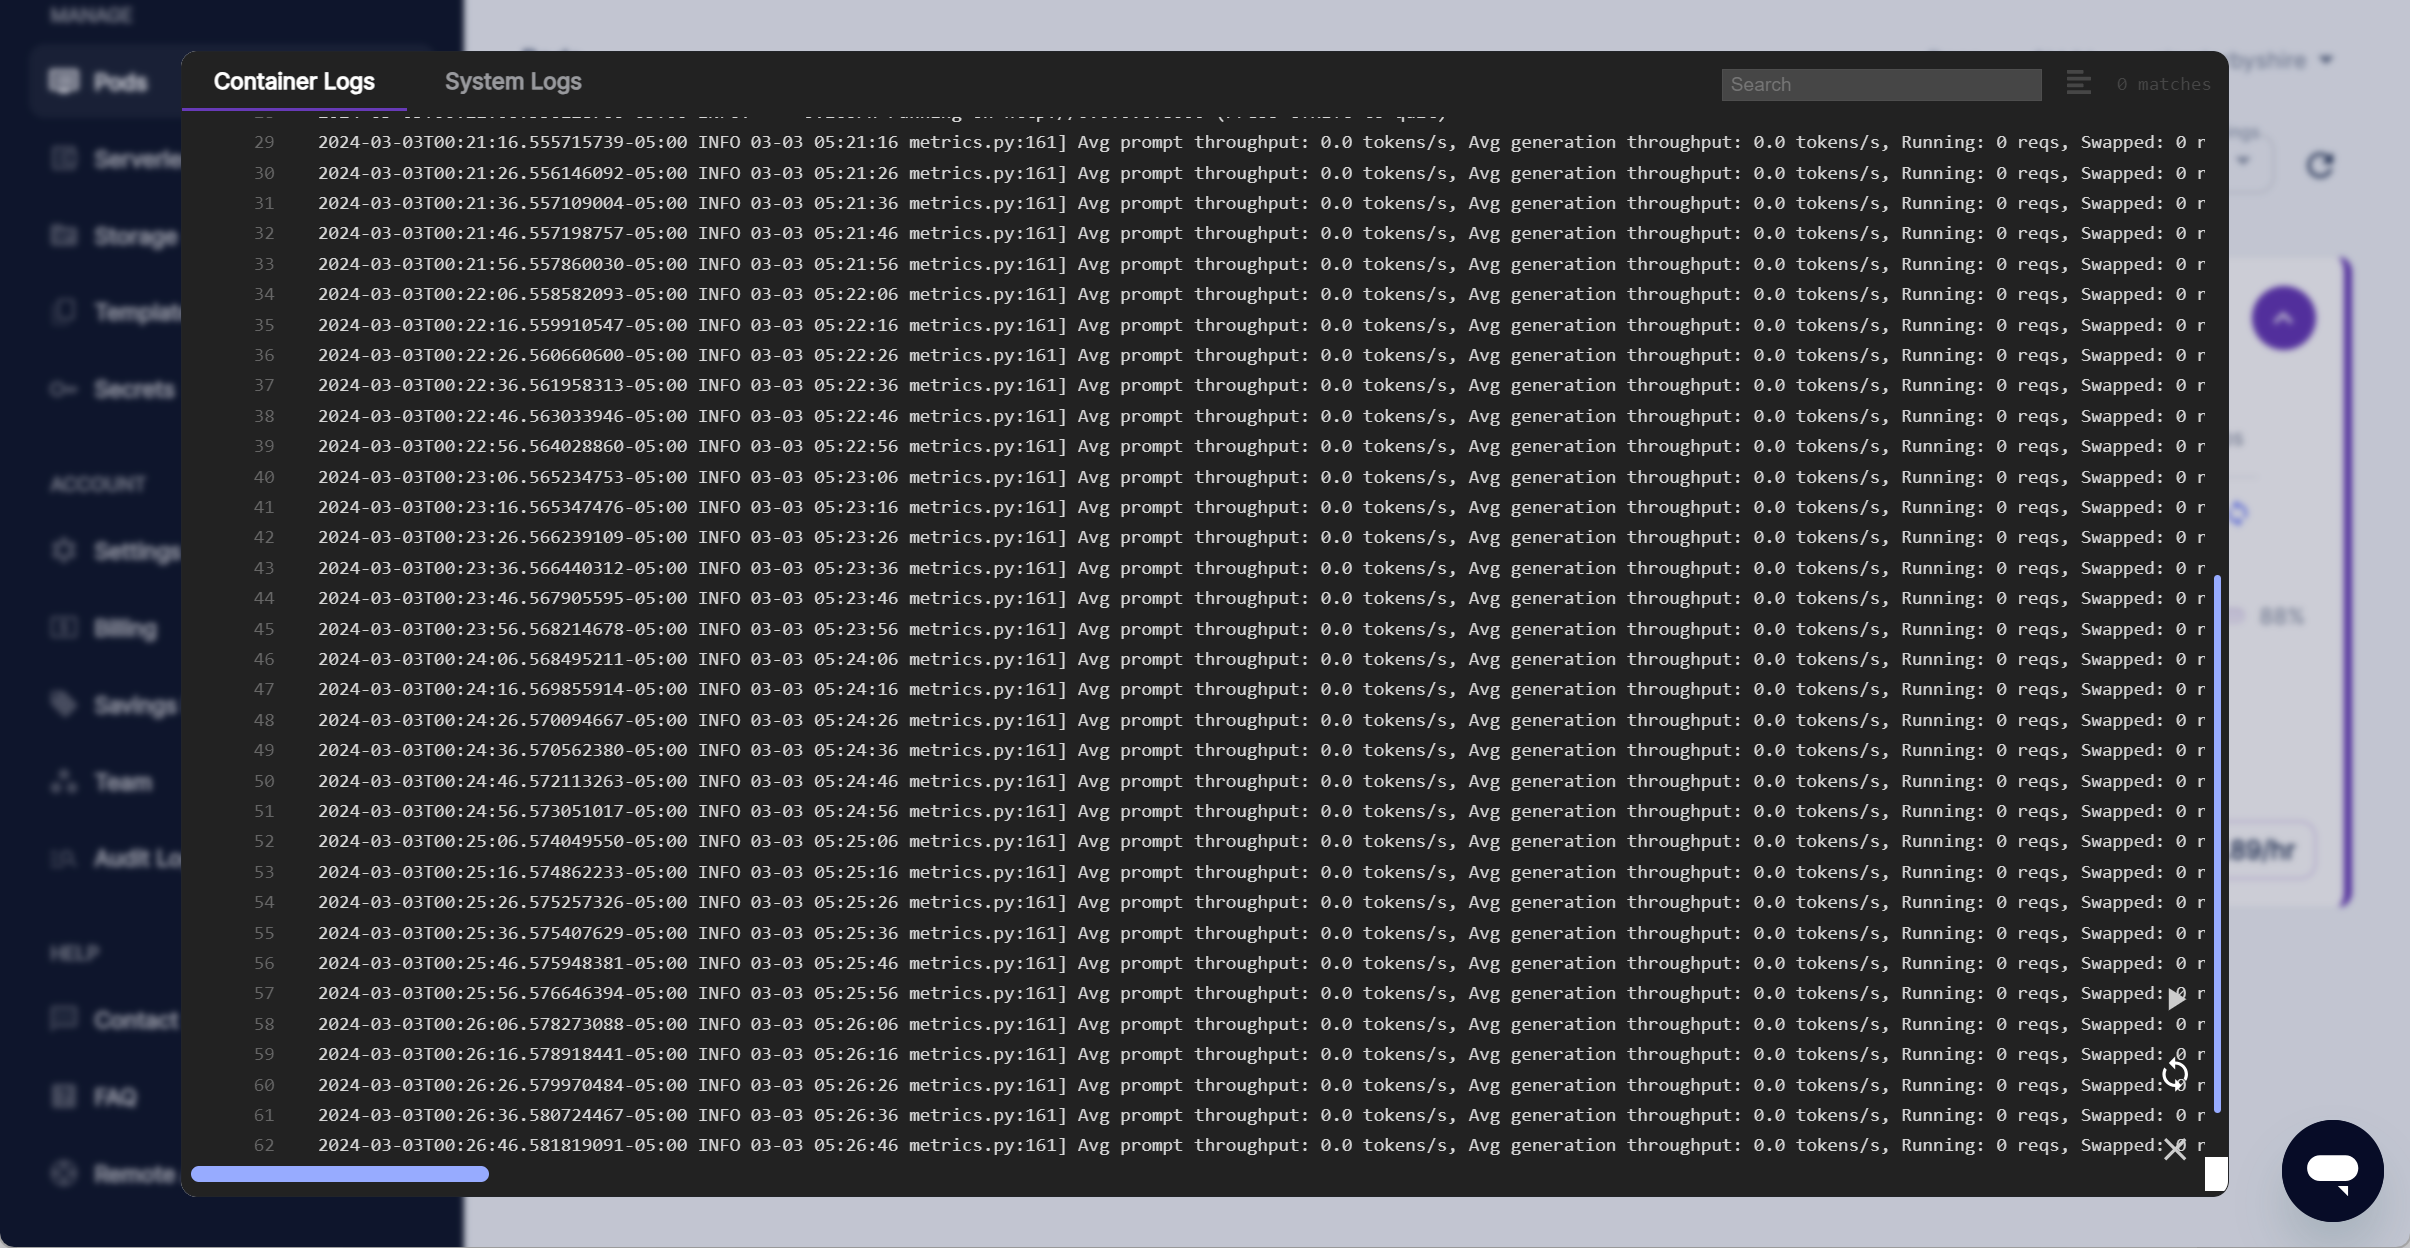
And eventually we see vLLM API server is available.
Get our Endpoint URL#
Click Connect (next to Logs) and then copy the link address of the Connect to HTTP Service [Port 8000].
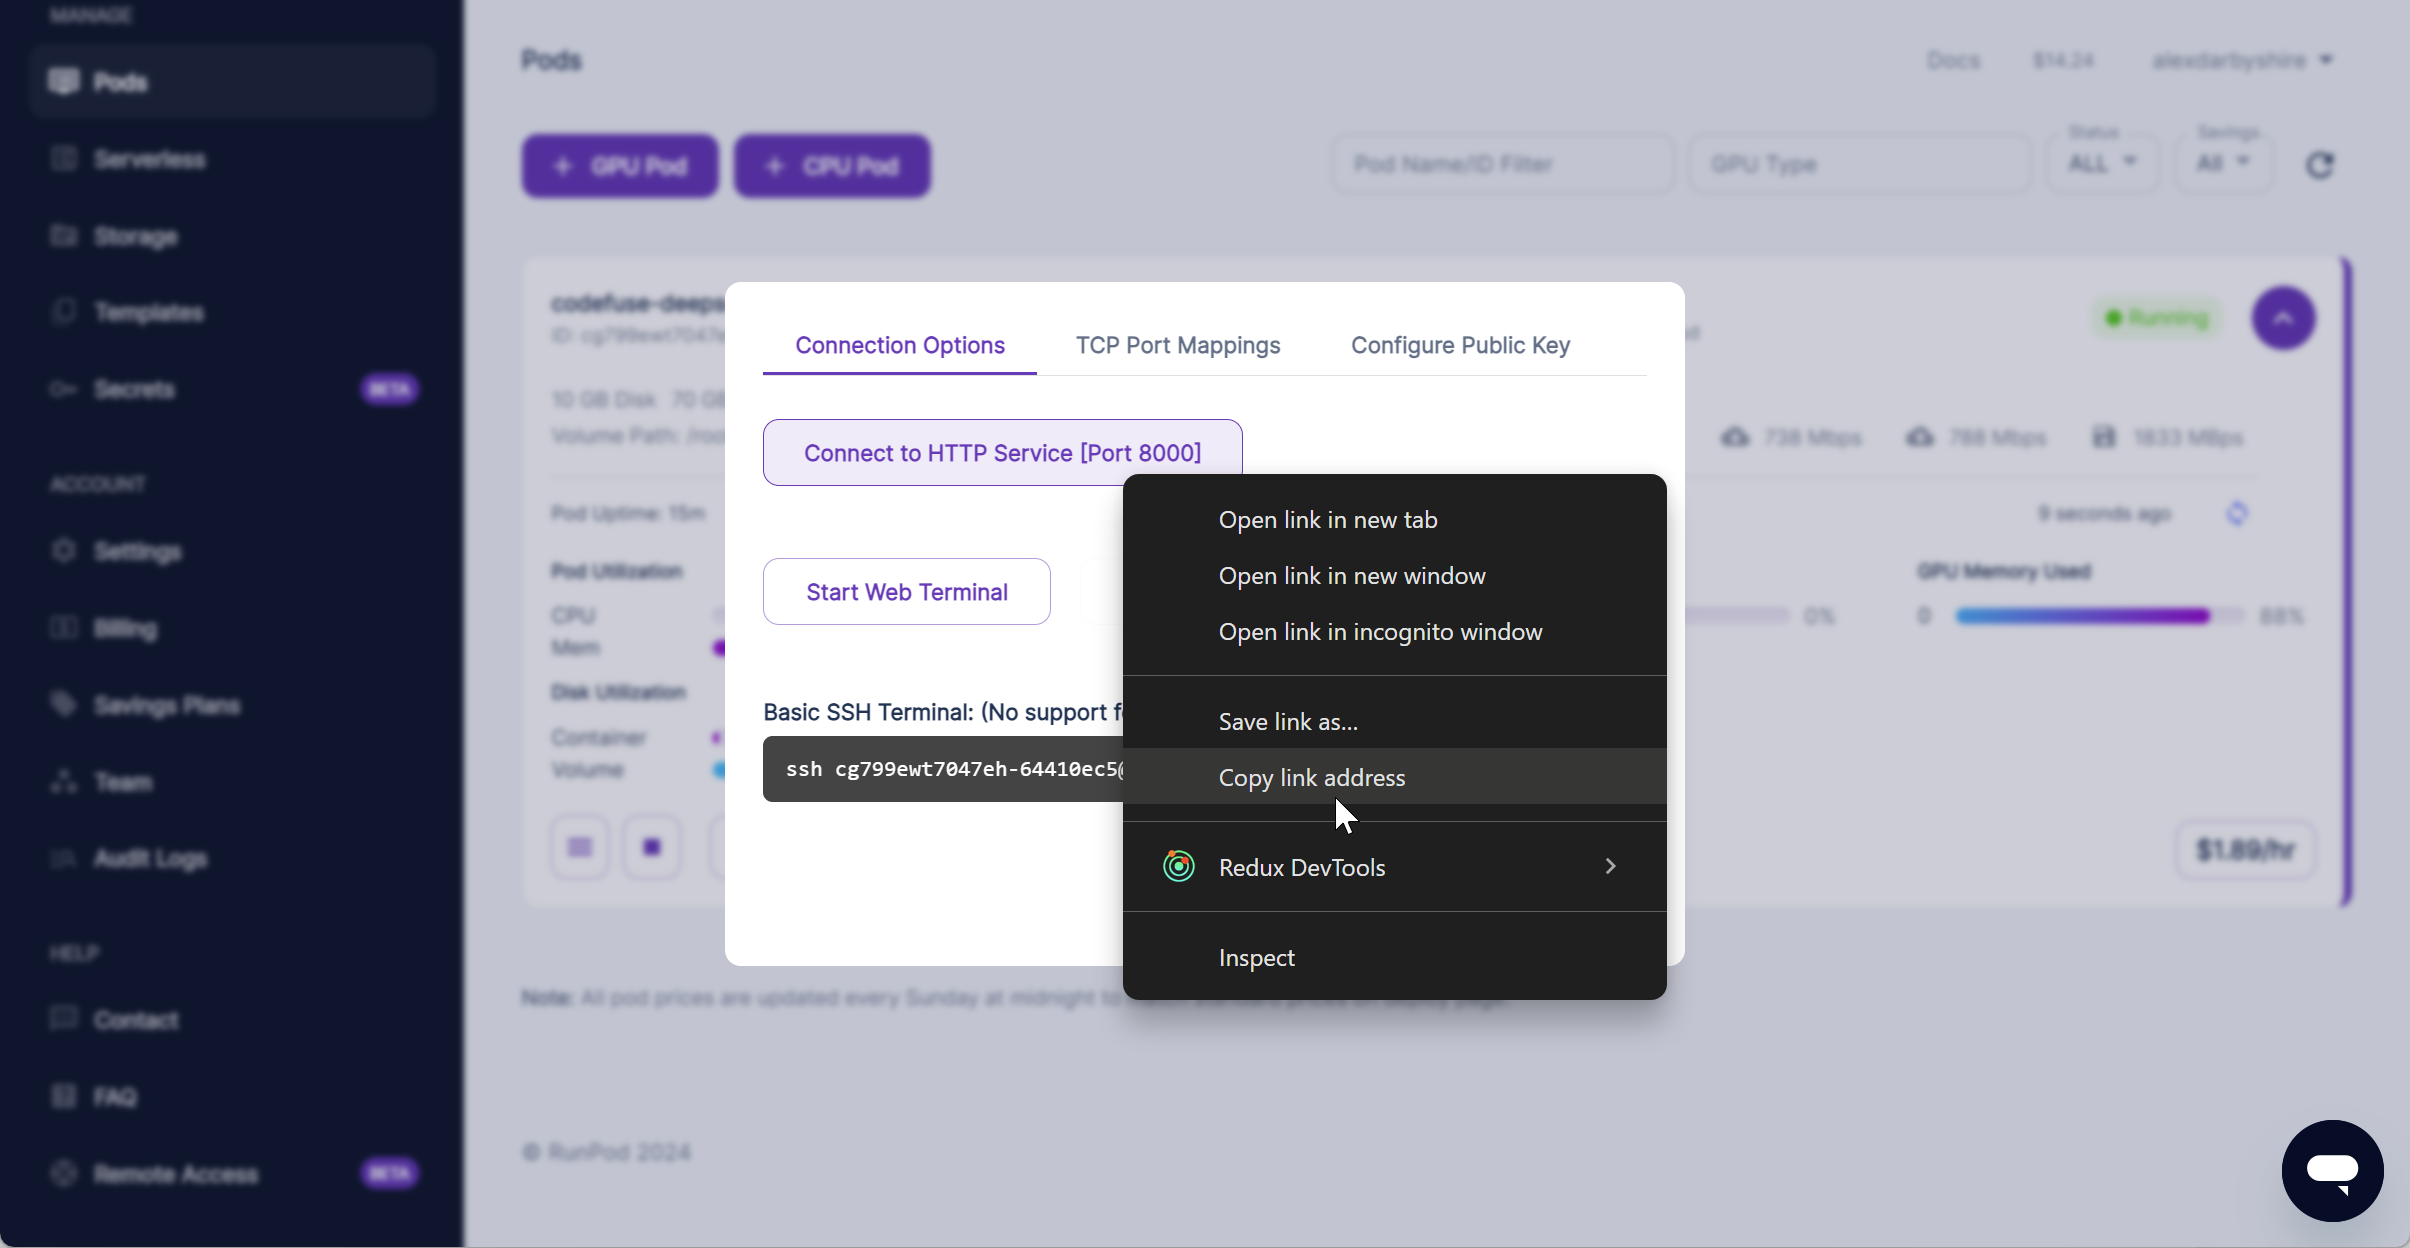
In this instance it was https://cg799ewt7047eh-8000.proxy.runpod.net/
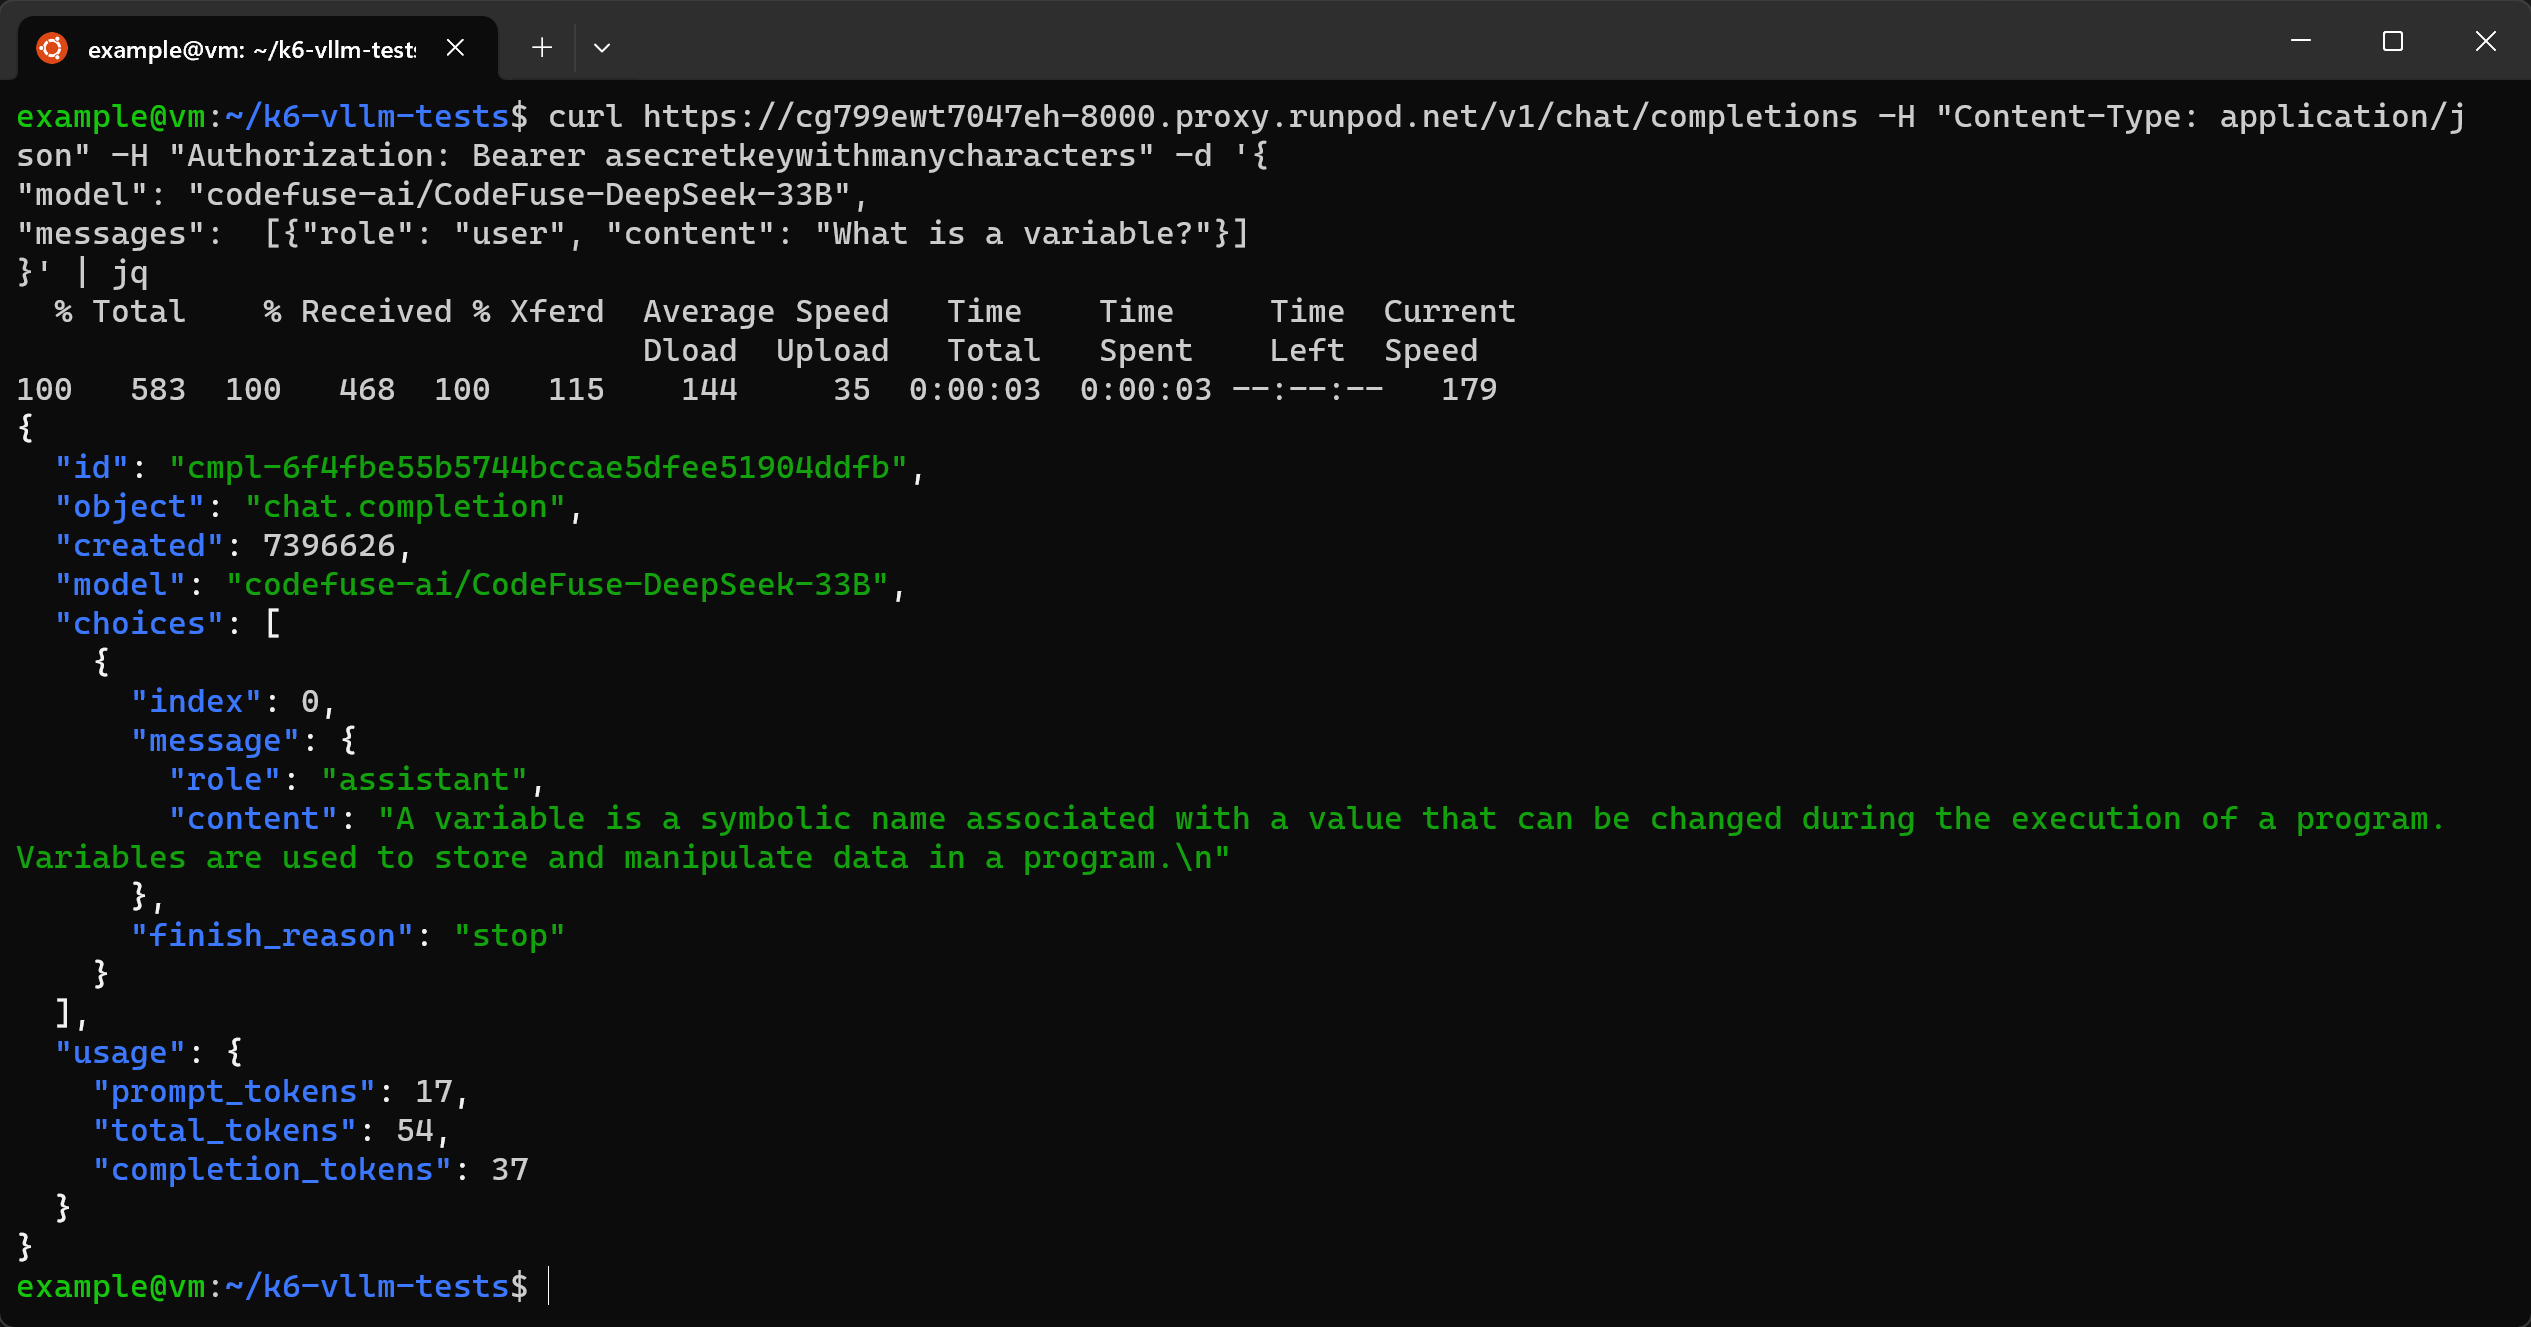
Test the Endpoint with cURL#
Any HTTP request method may be substituted for cURL.
curl https://cg799ewt7047eh-8000.proxy.runpod.net/v1/chat/completions -H "Content-Type: application/json" -H "Authorization: Bearer asecretkeywithmanycharacters" -d '{
"model": "codefuse-ai/CodeFuse-DeepSeek-33B",
"messages":  [{"role": "user", "content": "What is a variable?"}]
}' | jq
In the above command, we pipe the out to jq to make it human-readable. This is optional.
Install K6#
sudo gpg -k
sudo gpg --no-default-keyring --keyring /usr/share/keyrings/k6-archive-keyring.gpg --keyserver hkp://keyserver.ubuntu.com:80 --recv-keys C5AD17C747E3415A3642D57D77C6C491D6AC1D69
echo "deb [signed-by=/usr/share/keyrings/k6-archive-keyring.gpg] https://dl.k6.io/deb stable main" | sudo tee /etc/apt/sources.list.d/k6.list
sudo apt-get update
sudo apt-get install k6
Get a Dataset for K6 Testing#
A quick hunt around came up with a dataset of 2018 Stack Overflow questions on Kaggle. A free Kaggle account is required to access datasets on their platform.
https://www.kaggle.com/datasets/moulhanout/stack-overflow-2018-questions-data-set
It was downloaded as a zip file and extracted resulting in a QueryResults2018.csv.
Create a K6 Test File in Javascript#
Create api-test.js containing:
// import required modules
import http from "k6/http";
import { check } from "k6";
import { SharedArray } from 'k6/data';
import { Counter, Trend } from 'k6/metrics';

import papaparse from 'https://jslib.k6.io/papaparse/5.1.1/index.js';

// set params
const url = "https://cg799ewt7047eh-8000.proxy.runpod.net/v1/chat/completions";
const modelName = 'codefuse-ai/CodeFuse-DeepSeek-33B';
const apiKey = 'asecretkeywithmanycharacters';

// define custom metrics
const tokensTrend = new Trend('total_tokens_trend');
const promptTokensTrend = new Trend('prompt_tokens_trend');
const completionTokensTrend = new Trend('completion_tokens_trend');

const tokensCounter = new Counter('total_tokens');
const promptTokensCounter = new Counter('prompt_tokens');
const completionTokensCounter = new Counter('completion_tokens');

// load question dataset
const questionData = new SharedArray('stackoverflow questions', function () {
  return papaparse.parse(open('./QueryResults2018.csv'), { header: true }).data
});

// define test options
export const options = {

  // define scenarios
  scenarios: {
    // arbitrary name of scenario
    average_load: {
      executor: "ramping-vus",
      stages: [
        // ramp up to average load of 20 virtual users
        { duration: "30s", target: 20 },
        // ramp up to average load of 70 virtual users
        { duration: "200s", target: 70 },
        // ramp down to zero, allowing time for slow responses to finish
        { duration: "300s", target: 0 },
      ],
    },
  }
};


export default function () {
  // random question
  const questionIndexRand = Math.floor(Math.random() * questionData.length);
  const question = questionData[questionIndexRand].Body;


  // define URL and payload
  const payload = JSON.stringify({
   "model": modelName,
          "messages": [
                  {"role": "user", "content": question }
          ],
   "temperature": 0.1,
   "max_tokens": 600
  });

  const params = {
    headers: {
            "Content-Type": "application/json",
            "Authorization": "Bearer " + apiKey
    },
    timeout: '180s', // allow slow responses
  };

  // log question
  console.log(payload);

  // send a post request and save response as a variable
  const res = http.post(url, payload, params);

  // check that response is 200
  check(res, {

    "response code was 200": (res) => res.status == 200,

  });

  if(res.status == 200) {

    const data = res.json();

    // add custom metrics for response
    tokensTrend.add(data.usage.total_tokens);
    promptTokensTrend.add(data.usage.prompt_tokens);
    completionTokensTrend.add(data.usage.completion_tokens);

    tokensCounter.add(data.usage.total_tokens);
    promptTokensCounter.add(data.usage.prompt_tokens);
    completionTokensCounter.add(data.usage.completion_tokens);

    //log response including answer
    console.log(data);

  }
}
Note the API Key and endpoint must match the instantiated Pod.
See the K6 documentation for details on how to further configure tests.
Run the K6 Test File#
This command runs the K6 test and datetime stamps the resulting output files.
timestamp=$(date +%Y-%m-%d_%H-%M-%S) && k6 run api-test.js --out json="$timestamp"-results.json --console-output="$timestamp"-consoleoutput.txt
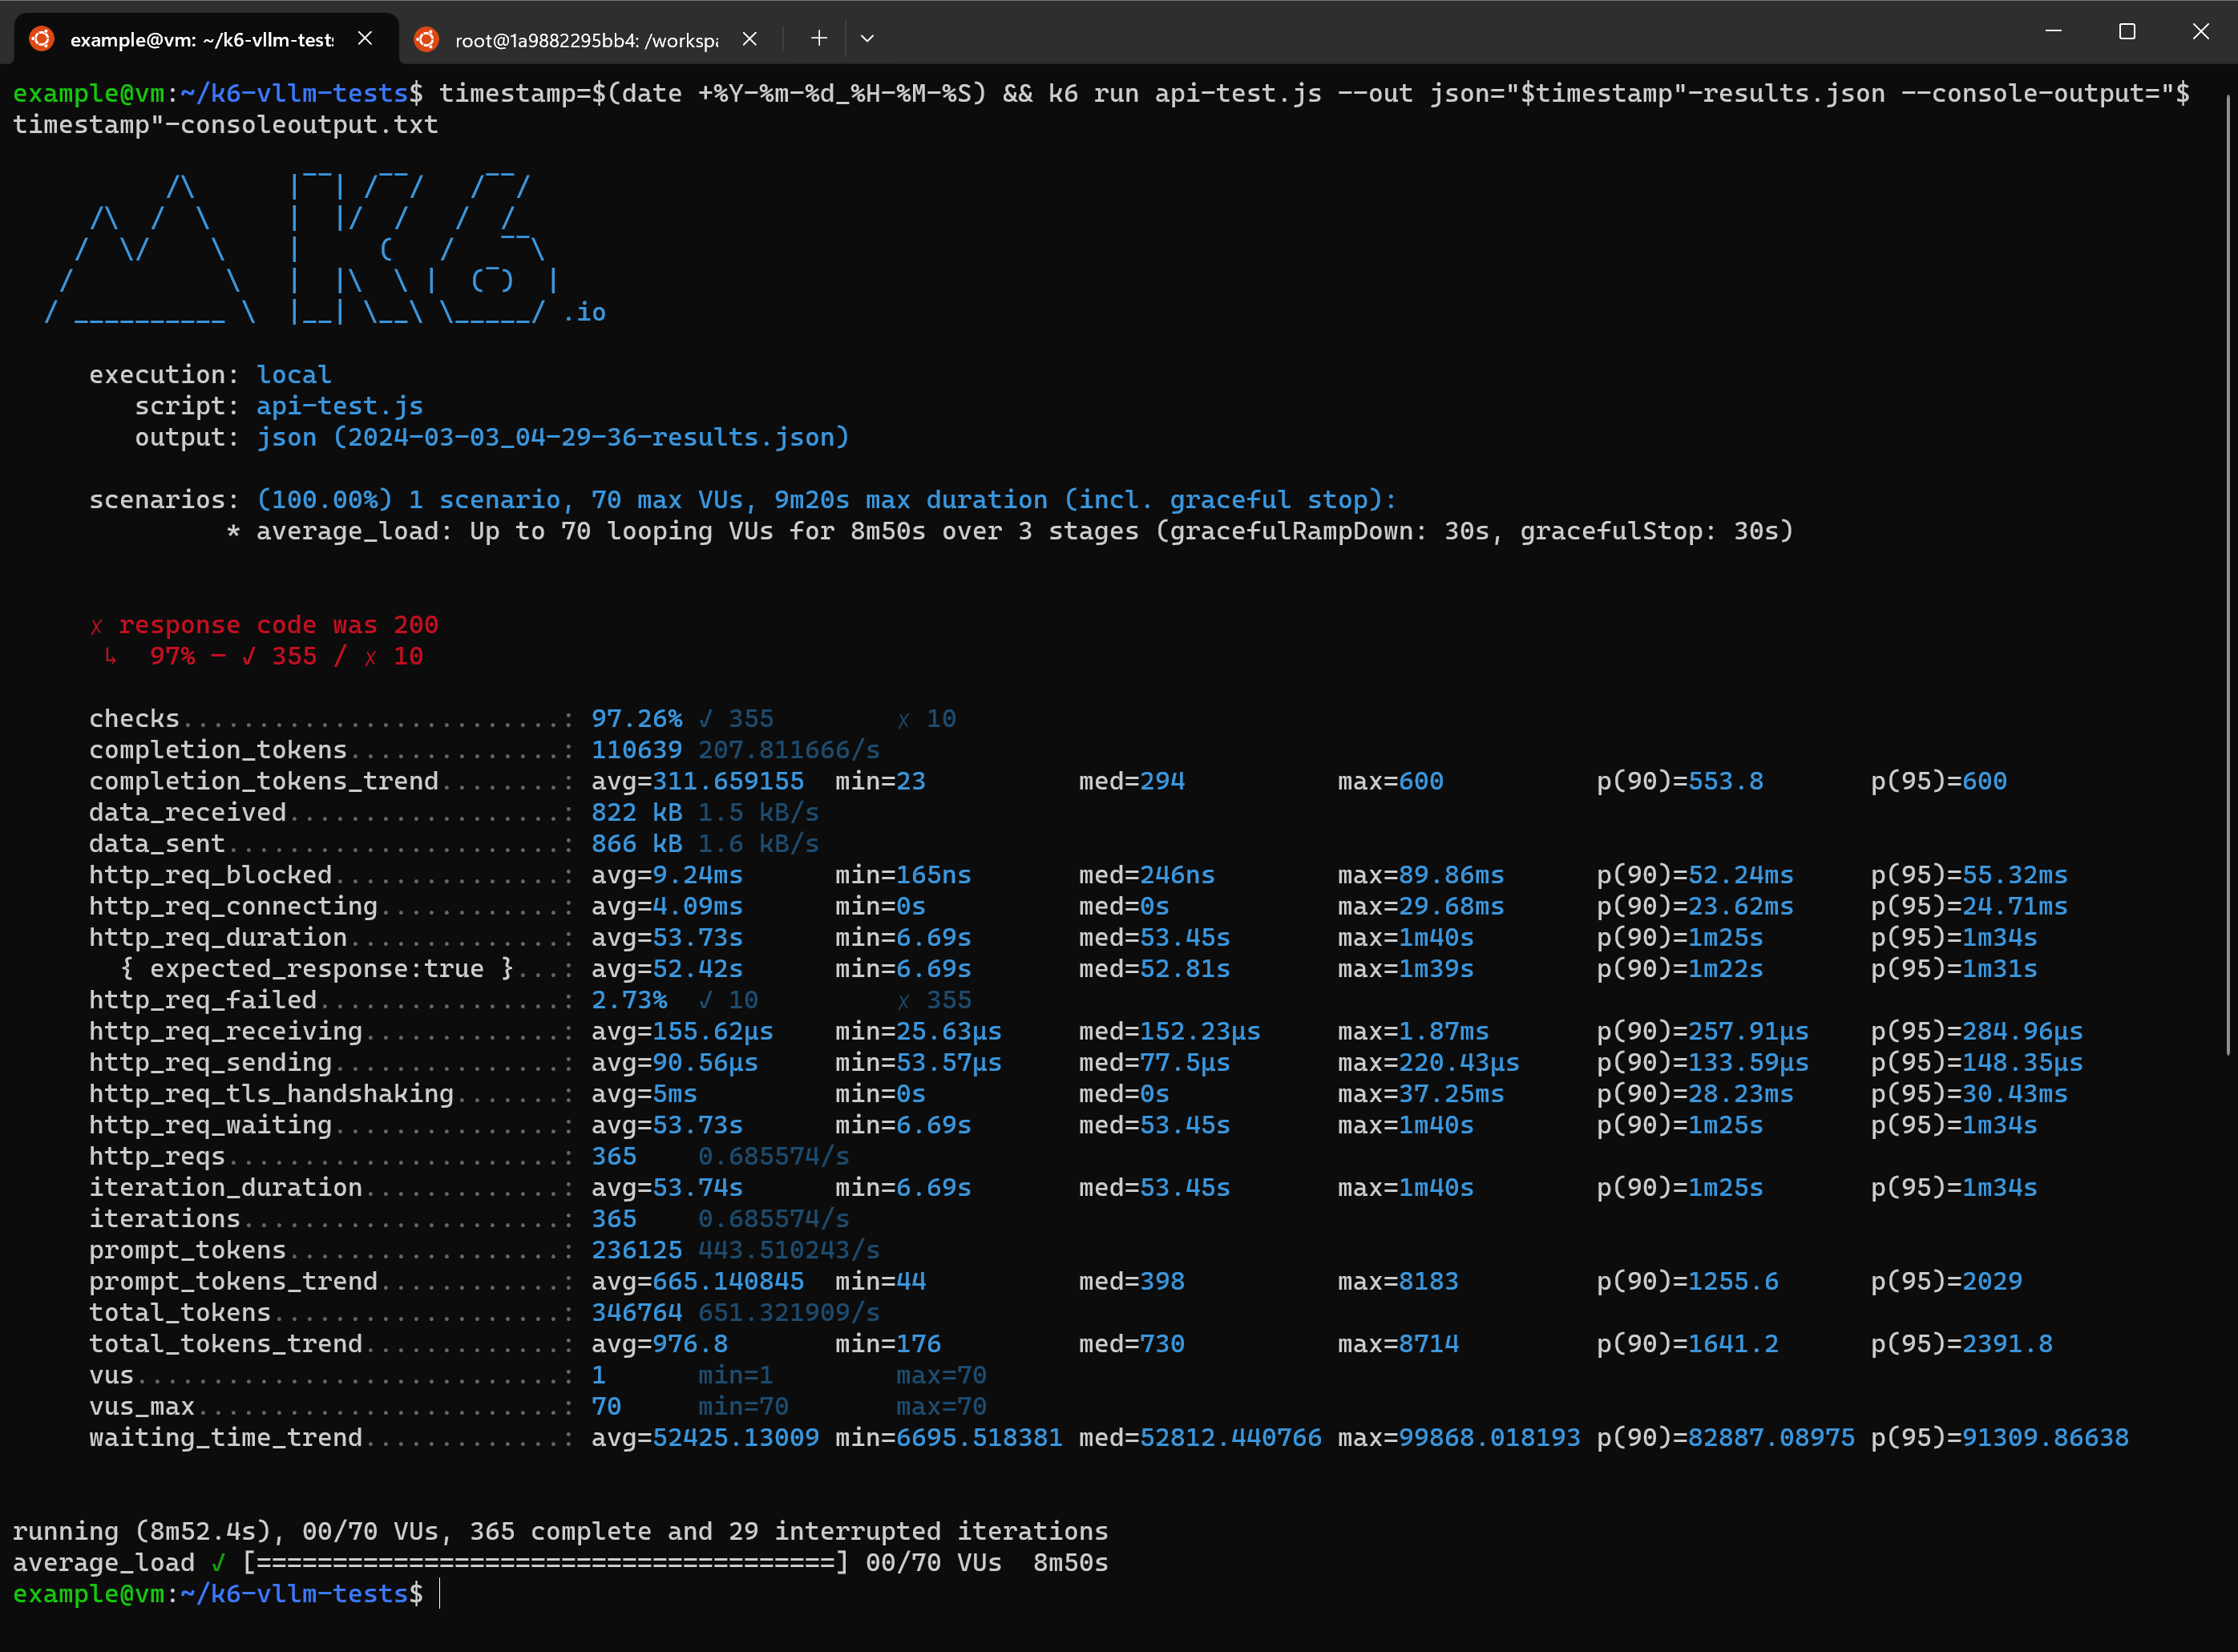
Amongst these results we see an average 651 tokens per second across the responses.
The average wait time http_req_waiting of 53.73s at 70 concurrent virtual users seems high at first glance.
Consider that we have not enabled the streaming of responses. The API is waiting until the entire response is done before sending it back.
Dividing average completion_tokens by http_req_waiting gives us an indicative average of 5.9 tokens per second which using the rule of thumb 0.75 words per token is 264 words per minute. This is slightly above the average silent reading rate for adults.
This and further testing helps inform design decisions. E.g. at what point will we need to use a better GPU or limit concurrent requests, or use more than one GPU and implement a load balancer.
We will leave tweaking the testing for the intrepid.
Cleanup#
Stop and then destroy the pod within the RunPod interface.
Potential Improvements#
RunPod has a GraphQL API available.
If we were wanting to test multiple models across multiple GPU types, or run tests on a regular basis, we could instantiate the pods using a script which interacts with the API and then run the tests in a pipeline.
We could also send the output to a time-series database to record our results and utilise a data visualisation tool enabling improved interpretation.
Success#
With that all done, we can consider use cases for endpoints with an understanding of how they perform under load and how costs may scale with number of users.